[ad_1]
Steps
Method 1
Method 1 of 4:
Realistic Cat
-
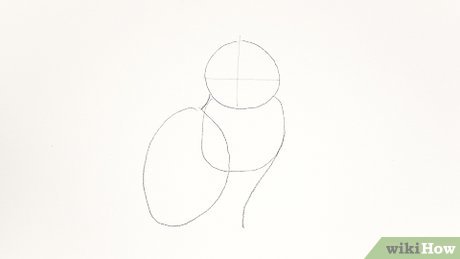
1Draw an outline of the body. Sketch a circle for the head and add two crossed lines at the center. Use a much bigger circle for the body and a curved line attached to it on the back.
-
2Sketch the outline of the face. Make the cheeks appear plumped and the ears pointy and protruding on each side of the head.
-
3Add two small oblongs on the lower part of the head, add a curved line connected to these circles. This will be your guide in drawing the nose and the mouth. Draw another pair of two small oblongs at the bottom of the body’s outline and add a long rectangle shape on one side.
-
4Draw details of the face. Make the eyes almond shaped, draw the nose and in framing the face, draw small strokes to make the cat appear furry.
-
5Add the cat’s whiskers and brows using longer strokes.
-
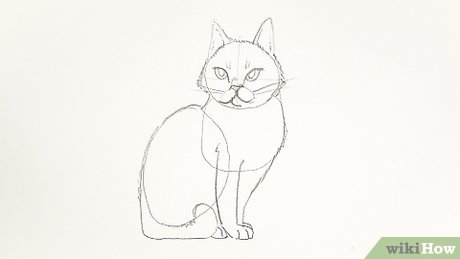 6Sketch the limbs, tail, and nails. Remember to use small strokes to make it appear furry.
 -
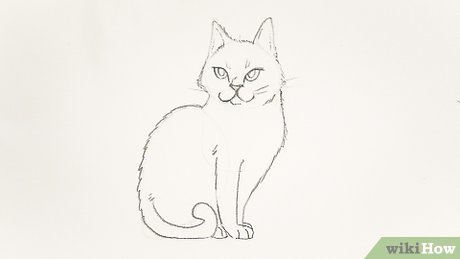 7Sketch the rest of the body with small strokes.
 -
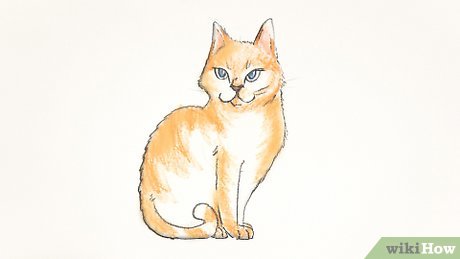 8Erase unnecessary lines and color the drawing.
Method 2
Method 2 of 4:
Cartoon Cat
-
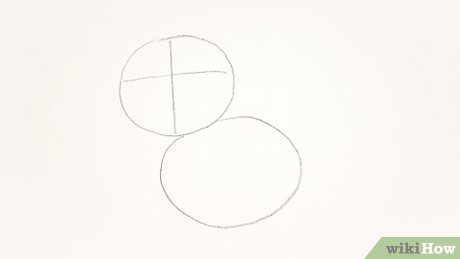 1Draw an outline of the head and body. Use a circle for the head. Add a crossed vertical and horizontal line at the center of the head. Add a big oblong shape for the cat’s body.
 -
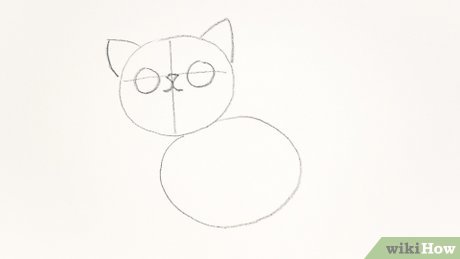 2Add the eyes using two small circles, sketch the nose and mouth. Sketch two half almond shapes protruding on each side of the head.
 -
3Sketch an outline of the cat’s limbs. Make the hind leg circular.
-
4Sketch the tail, make it long and curved.
-
5Darken the eyes and add whiskers. You can also add a collar on the neck.
-
6Sketch the body and add a few furry details.
-
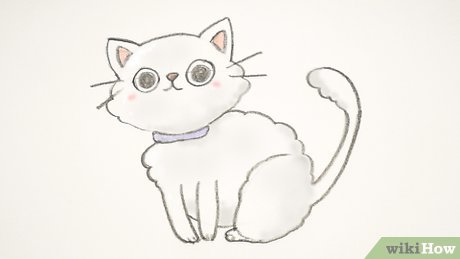 7Color and complete.
Method 3
Method 3 of 4:
Side View Standing Cat
-
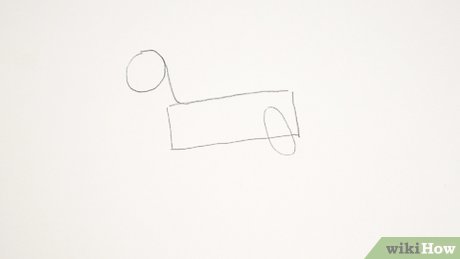 1Sketch the main shapes. Sketch a circle for the head. The body is a rectangle with a curved line at the end near to the head. A big fat oblong-ish squished oval is drawn for the thigh area.
 -
2Sketch the basic feature of the face. Add the mouth area, ears, and face guidelines. Try to make the muzzle short and squarish.
-
3Add more features of the head. Add the eyes and make sure they are at the cross-section of the face’s guidelines. Now add the nose.
-
4Sketch oblongs and circles for the thighs, legs, and paws. Add also the tail.
-
5Draw the main features of the cat. Use lines to indicate a pattern in the cat’s fur.
-
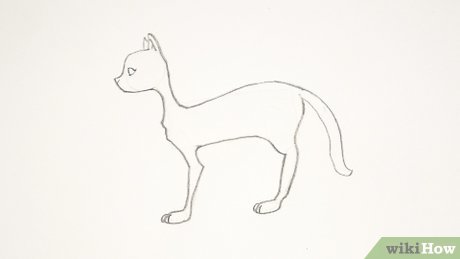 6Erase the draft lines and add more details.
 -
7Color the finished cat.
- Use colored pencils, crayons, markers, or watercolors.
Method 4
Method 4 of 4:
Resting Cat
-
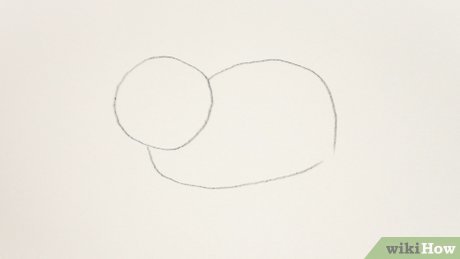 1Sketch a circle and an oblong. These will serve as the guide for the head and the body.
 -
2Add the guidelines for the face. Add the nose area, guidelines for the face, and the ears.
-
3Sketch circles and oblongs for the thighs, the legs, and the paws. There is 3 oblongs used in the picture for each leg.
-
4Add the guide for the face.
-
5Draw the main features of the cat. Use irregular lines to indicate the fur.
-
6Erase the draft lines and add more details. You can add more details like whisker and fur.
-
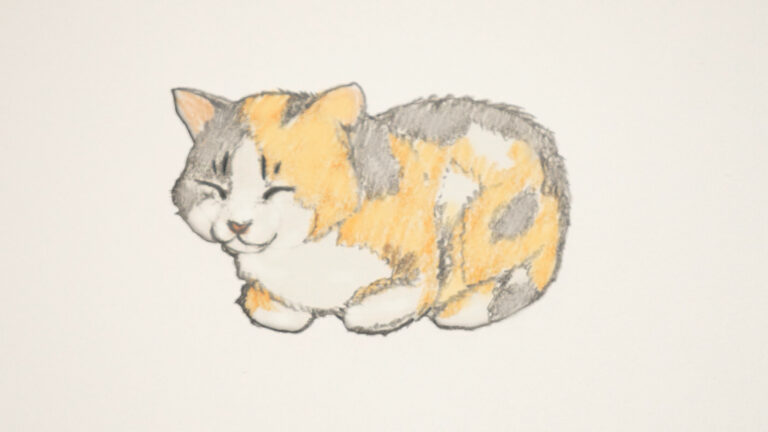
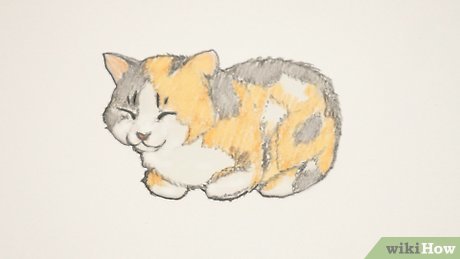 7Color and Complete.
- To improve your drawing skills you should read about art.
- Do a lot of sketches.
- Learn to observe things from an artist’s perspective from a good teacher.
Video
[ad_2]
Source link : https://www.wikihow.com/Draw-a-Cat