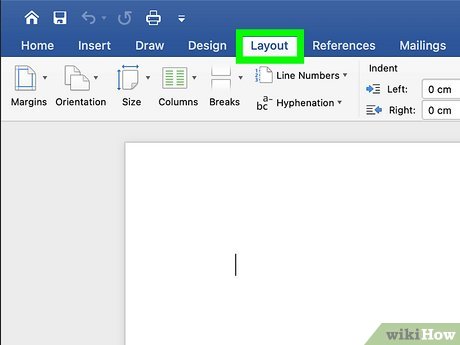
Open the Layout tab. In the ribbon menu at the top of your document window, click Layout. In some versions of Word, this tab may be called Page Layout.[1] X
Trustworthy Source
Microsoft Support Technical support and product information from Microsoft.
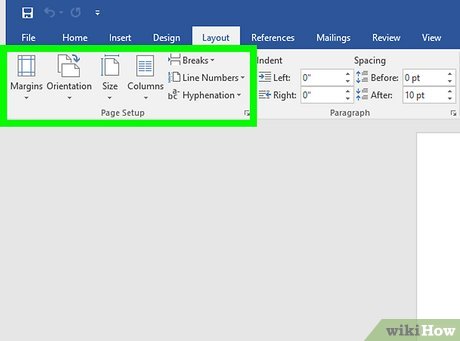
Launch the Page Setup dialog box. In the lower right corner of the Page Setup section of the Layout tab, click the dialog launch icon. The icon looks like a little square with an arrow in the lower right corner. Clicking it will open a Page Setup window.
Click the Margins tab. In the Page Setup dialog box, click the Margins tab at the top of the window. This will open a window with a variety of formatting options for your margins.
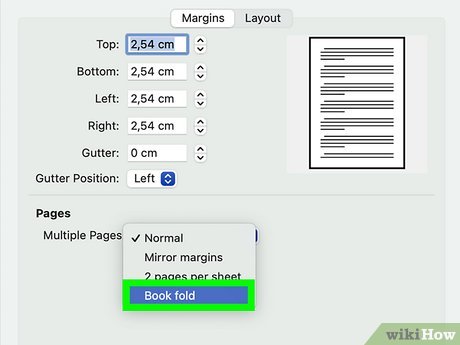
Select Book fold in the Multiple pages menu. Under the Pages header, open the drop-down menu next to Multiple pages. Select Book fold from the list of options.
If your document is really long, you can use the Sheets per booklet menu underneath the Multiple pages menu to break it up into multiple booklets. Select how many pages you want each booklet to contain, or choose All to include all the pages in one booklet.
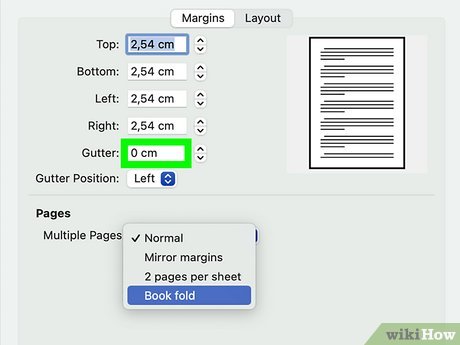
Adjust the Gutter size to make space for the binding. The gutter is the space next to the inner margin, where the pages meet in the middle. To leave a little extra room in the middle of the booklet, increase the gutter size under the Margin header close to the top of the dialog box.
There’s no single gutter size that works perfectly for all booklets, but most experts recommend a gutter margin of at least .5 inches (1.3 cm).
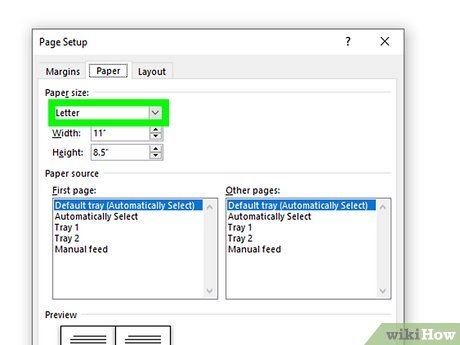
Choose your desired paper size in the Paper tab. Click the Paper tab at the top of the Page Setup dialog box. Under the Paper size header, select the paper size you want to use for your booklet.
Keep in mind that using the Book fold format will automatically change the orientation of your document to Landscape and print 2 pages on each side of the paper. Once your booklet is bound, each page will be half the size of the selected paper size.
While you can set the orientation of your booklet to Portrait in the Page Setup menu, doing so will split your pages half-way down the page so that your book opens vertically, like a calendar. To create a tall, narrow booklet, select Portrait Orientation from the Print menu instead.
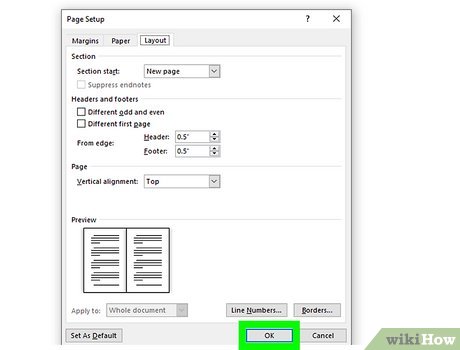
Add borders in the Layout tab. If you want to add decorative borders or other embellishments to your booklet, you can do it in the Layout tab of the Page Setup dialog box. Click the Borders… button close to the bottom of the tab to add borders.
You can also use this tab to add line numbers and edit the header and footer formatting.
Click OK to confirm your settings. Once you’re satisfied with the formatting of your booklet, click OK. This will close the Page Setup window and apply your changes.[2] X
Trustworthy Source
Microsoft Support Technical support and product information from Microsoft.
Open the Margins menu. On the far-left side of the Layout tab, click on Margins. This will open a drop-down menu with a variety of formatting options for your document margins.
Select Custom Margins. In the Margins menu, select the Custom Margins option at the bottom. This will launch a new dialog box with options for formatting your booklet’s margins.
Make sure you have the Margins tab selected in the dialog box that opens up.
Choose Book fold from the Multiple pages menu. Under the Pages header of the Margins tab, click the dropdown menu next to Multiple pages. Change the setting from Normal to Book fold.[4] X
Trustworthy Source
Microsoft Support Technical support and product information from Microsoft.
Increase the Gutter size to make room for the binding. In the Margins tab, you can adjust the size of the booklet’s gutter to prevent text getting hidden in the binding. You can also change the position of the gutter.[5] X
Trustworthy Source
Microsoft Support Technical support and product information from Microsoft.
Add borders in the Layout tab if you like. If you want to add borders or edit the header and footer formatting, you can do it in the Layout tab of the Custom Margins dialog box. Click the Borders button at the bottom of the tab to see your border options.[6] X
Trustworthy Source
Microsoft Support Technical support and product information from Microsoft.
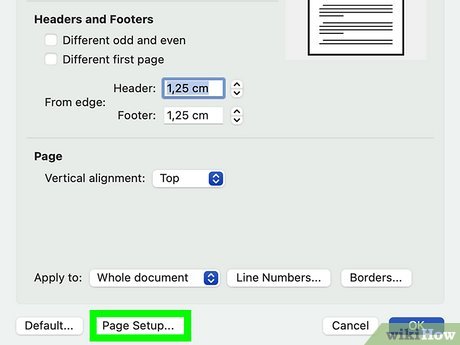
Select your document orientation in Page Setup. Unlike in the Windows version of Word, selecting Book Fold does not automatically change the orientation of your document to landscape on a Mac. The default is portrait, which will create a tall, narrow booklet. To change the orientation, click the Page Setup button at the bottom of the dialog box and click the radio button next to your desired orientation.
Choose your paper size in Page Setup. If you want to change the default paper size of your booklet, you can do this by clicking the Page Setup button in the Margins dialog box. Choose your paper size from the Paper Size drop-down menu.[7] X
Trustworthy Source
Microsoft Support Technical support and product information from Microsoft.
Open the File menu. Word has several pre-made booklet templates to choose from. If you’d rather skip formatting the booklet yourself, create your document using one of these templates. Start by launching Word and opening the File menu.[9] X
Trustworthy Source
Microsoft Support Technical support and product information from Microsoft.
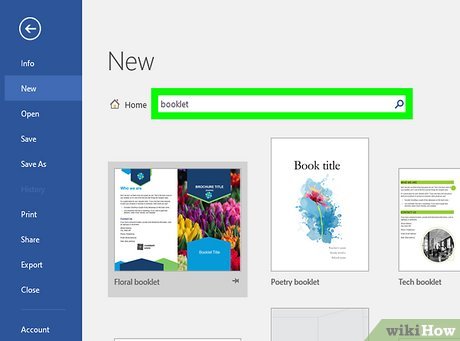
Search for booklet in the search box. Under the Blank document option, find the Search for online templates text box. Type booklet into the box and click the
{“smallUrl”:”https://www.wikihow.com/images/1/1a/Android7search.png”,”bigUrl”:”/images/thumb/1/1a/Android7search.png/30px-Android7search.png”,”smallWidth”:460,”smallHeight”:460,”bigWidth”:30,”bigHeight”:30,”licensing”:”<div class=”mw-parser-output”><p>I edited this screenshot of an Android iconn</p><p>License: <a target=”_blank” rel=”nofollow noreferrer noopener” class=”external text” href=”http://en.wikipedia.org/wiki/Fair_use”>Fair Use</a><br>n</p></div>”}
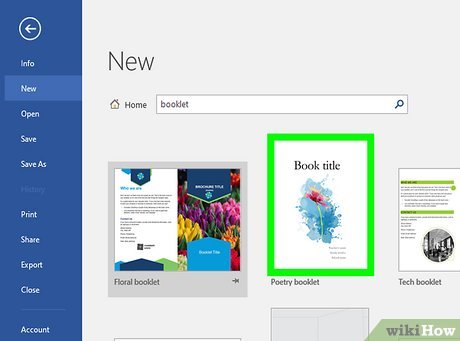
Choose your desired template and click Create. Click on whichever template you like best, then click the blue Create button to download it and open the document.[12] X
Trustworthy Source
Microsoft Support Technical support and product information from Microsoft.
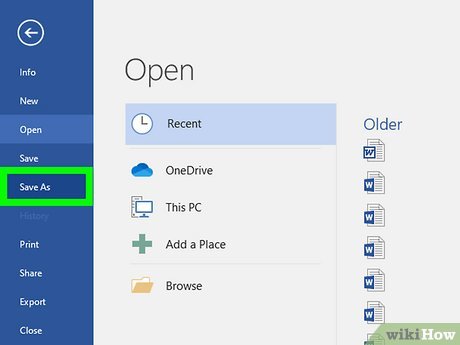
Click Save a copy in the File menu. To save the template as a new document and start editing your booklet, select Save a copy from the File menu. Enter a name for your booklet, select a save location, and change the file format if you like.[13] X
Trustworthy Source
Microsoft Support Technical support and product information from Microsoft.
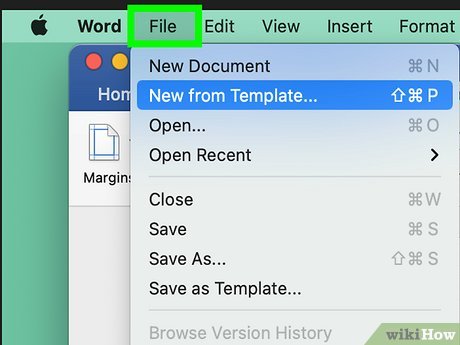
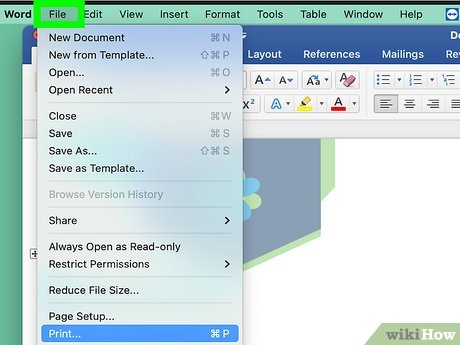
Open the File menu. In Word for Mac, you can also make a booklet from a template instead of creating it from scratch. To get started, launch Word and open the File menu.[14] X
Trustworthy Source
Microsoft Support Technical support and product information from Microsoft.
Choose New from Template. In the File menu, select New from Template…. This will open a window with several templates to choose from, as well as a Search option.[15] X
Trustworthy Source
Microsoft Support Technical support and product information from Microsoft.
Type booklet into the Search All Templates field. Locate the
{“smallUrl”:”https://www.wikihow.com/images/e/ea/Macspotlight.png”,”bigUrl”:”/images/thumb/e/ea/Macspotlight.png/30px-Macspotlight.png”,”smallWidth”:460,”smallHeight”:460,”bigWidth”:30,”bigHeight”:30,”licensing”:”<div class=”mw-parser-output”><p>I edited this screenshot of a Mac icon.n</p><p>License: <a target=”_blank” rel=”nofollow noreferrer noopener” class=”external text” href=”http://en.wikipedia.org/wiki/Fair_use”>Fair Use</a><br>n</p></div>”}
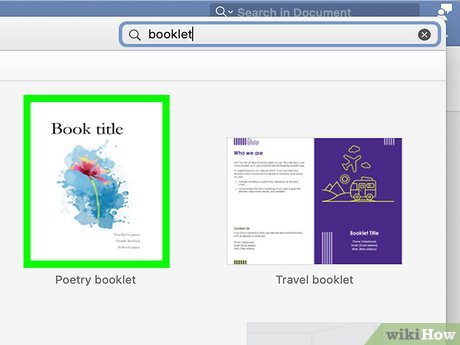
Search text box in the top right corner of the New from Template window. In some versions of Word for Mac, this box may contain the words Search All Templates. Type in booklet to bring up booklet templates.[16] X
Trustworthy Source
Microsoft Support Technical support and product information from Microsoft.
Double-click the template you want to use. When you find a booklet template you like, double-click it to download it and open it as a document. Or, click on it once to select it, then click the blue Create button in the lower right corner of the window.[17] X
Trustworthy Source
Microsoft Support Technical support and product information from Microsoft.
Select Save As from the File menu. To save your template as a new document and begin editing it, open the File menu and select Save As. Give your booklet a new name, choose where you’d like to save it, and change the file format if you like.[18] X
Trustworthy Source
Microsoft Support Technical support and product information from Microsoft.
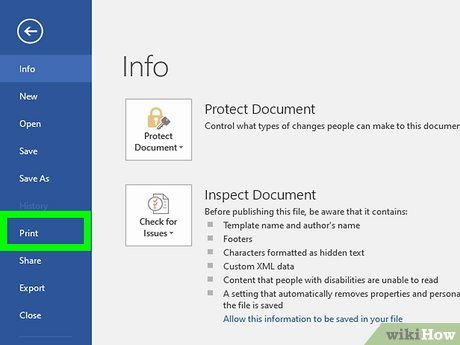
Open the File menu. Printing a booklet is a little more complicated than printing a regular Word document. To get started, once your booklet is formatted the way you like, open the File menu.
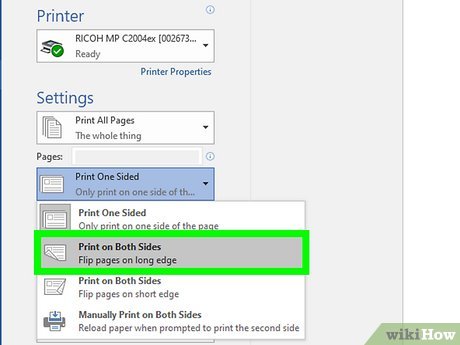
Choose Print on Both Sides. Under the Settings header, you’ll need to change Print One Sided to Print on Both Sides. To make sure all the pages print right-side up, select the both sides option that says Flip pages on short edge.[19] X
Trustworthy Source
Microsoft Support Technical support and product information from Microsoft.
If you don’t have a printer that can automatically print on both sides of the paper, select Manually Print on Both Sides instead. You’ll need to flip each page over on the short edge and reload it when prompted to print on the other side.
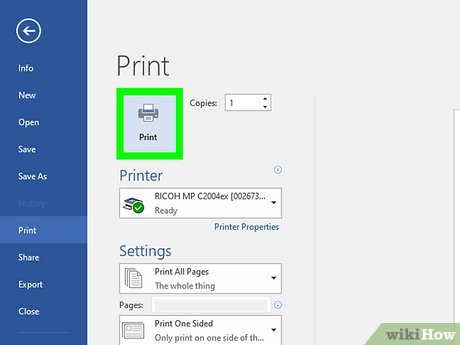
Click Print when you’re ready to print. Once you have your print settings the way you like them, click Print. Review the print preview first to make sure everything looks right.
Open the File menu. To make sure your booklet prints out correctly, you’ll need to adjust the print settings. Start by opening your booklet document, then clicking on the File menu.
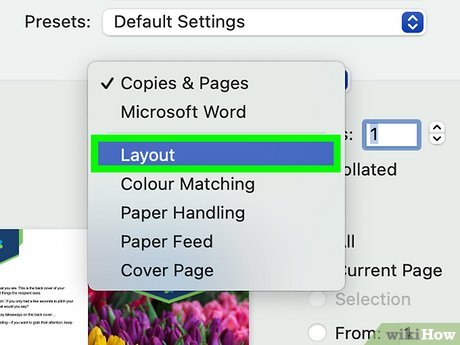
Select Layout from the Copies & Pages menu. In the dialog box, locate the dropdown menu that says Copies & Pages close to the top of the window. You will find it under the Printer and Presets menus. Click the menu and select the Layout option.
Choose Booklet under Two-sided. In the Layout window, select Booklet from the Two-sided menu. If you have a printer that can handle two-sided printing, it will automatically print the pages correctly.[20] X
Trustworthy Source
Microsoft Support Technical support and product information from Microsoft.
If you don’t have a printer hooked up that can do two-sided printing, you won’t be able to enable this option. You will need to print each page manually, one at a time, instead. Flip each page over on the short edge and reload it to print the next page on the other side.
Tips
To add page numbers to your booklet, open the Insert tab at the top of the document window and click Page Number in the Header & Footer section.


