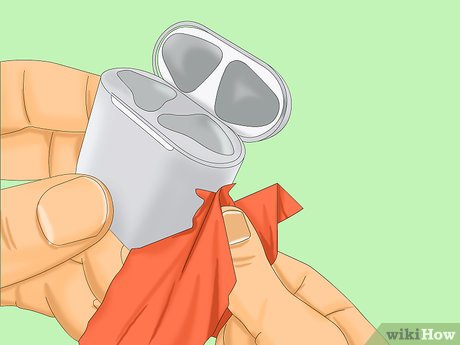
Give the case general cleaning. Start by using a scratch-free microfiber cloth for a general rub-down and preliminary cleaning. Wipe down the exterior of the case, and get rid of any easy-to-remove lint, dirt, and wax.[1] X
Expert Source
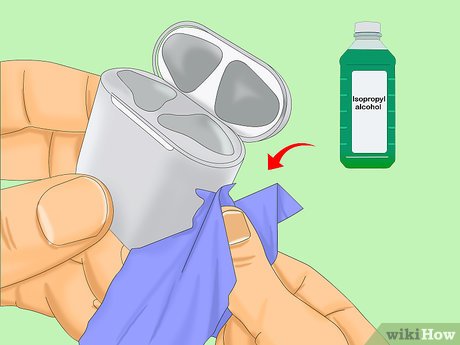
Dampen the cloth with a little liquid if necessary. You may use a little distilled water to help you along in your task; for more difficult grime, dampen the cloth using a small amount of isopropyl alcohol. But only use a very small amount of liquid. Dry is best, if possible.
Your AirPods and their storage case are not resistant to liquids, so be careful to not get any fluid in the charging ports, or on the AirPods themselves.[2] X Research source
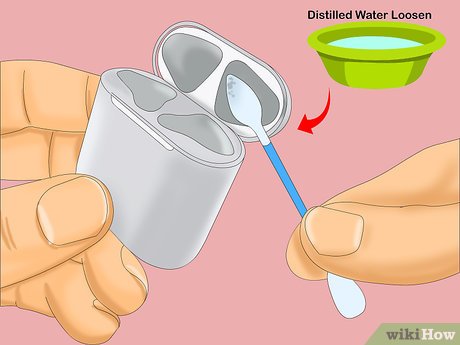
Use cotton swabs to rub free any dirt or stains on the outside of the case. A swab gives you pinpoint accuracy, and lets you muscle through the gunk. If necessary, dampen the swab with distilled water to loosen dirt and wax.[3] X
Expert Source
Luigi Oppido Computer & Tech Specialist
Expert Interview. 13 November 2020.
If you have really difficult-to-remove, caked-on dirt to contend with, moistening the end of a swab with a small amount of isopropyl alcohol should do the trick.
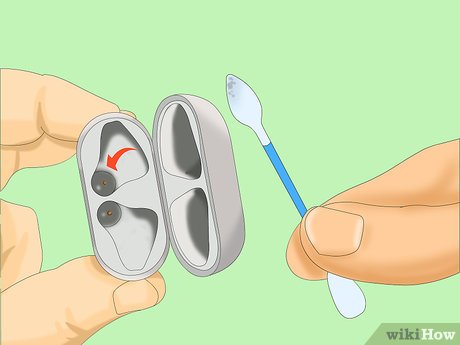
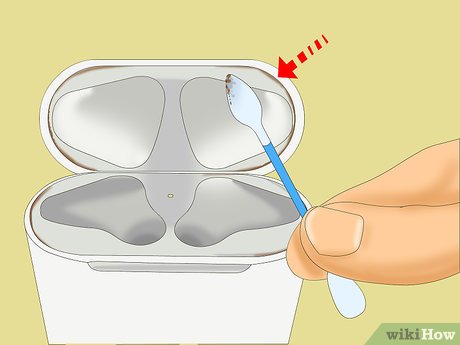
Get inside the charging ports as well as you can. Use a cotton swab or cotton ball to clean the charging ports—where your AirPods sleep when they’re not in your ears—and other nooks and crannies. You want to remove as much dust and lint as possible from the contacts to ensure that the case continues to charge quickly and to prevent shorting out.
Get into the grooves on the top of the case. Keeping these grooves clean will keep your case looking new. Dampen your swab with a little water or alcohol, as necessary. But don’t use enough to soak the cotton, as you do not want drips falling into the electronics of the case. You can gently work wax and dust from these difficult areas with a swab that is only lightly dampened.
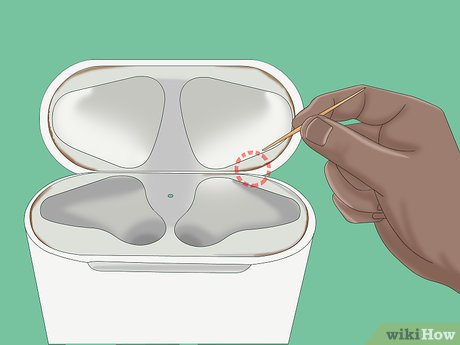
Use a toothpick to work on more stubborn grime. This is where bacteria can really get a foothold. A plastic or wooden toothpick should really help you to clean out the cracks and fissures in the case, especially around the lid. Be gentle and methodical, though. Patiently work the waxy buildup free gradually without applying too much force.[4] X Research source
Here are a few other useful tools that will help you keep your AirPods case hygienic, and looking and charging like new:
Tape or ‘tack. Use either one to pull dirt, lint, and wax buildup free; if you’re using tape, use a good-quality product that will not leave behind adhesive. Press the piece of tape or lump of tack firmly into grooves to pull wax and general buildup from the cracks on the lid and top of the case.
A soft eraser. Use it to rub stubborn stains and dirt away.
A soft toothbrush. Only use soft or extra-soft, and put it to work gently scrubbing dirt, dust, and lint from crevices and the Lightning connector.[5] X Research source
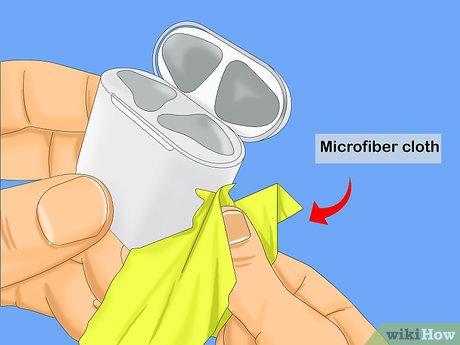
Rub down the case again with a microfiber cloth. Your AirPods case should be looking almost new by now. The last step is a quick finishing polish using a dry microfiber cloth. Rub the case down gently and firmly, giving it a last going over to complete the cleaning process.
Give your AirPods themselves a once-over. Wipe down each AirPod carefully. If there is gunk in the grilles, gently brush it away with a toothbrush. You can use a tiny amount of isopropyl alcohol on a cotton swab for dried-on wax, but be very careful not to get it near the grilles and speaker elements.
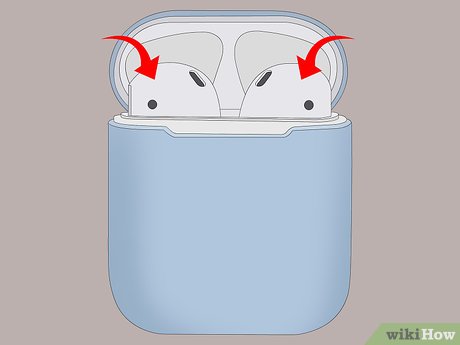
Place the AirPods back in their charging case. They’ll be ready for their next usage.
Video
By using this service, some information may be shared with YouTube.
Warnings
Do not use abrasives or aerosol cleansers to clean your AirPods or their storage case. Also avoid solvents other than 70% isopropyl alcohol. Any harsh or heavy-duty cleanser will likely mar the glossy finish of your AirPods and case, and could damage your ear.


