


[ad_1]
Steps
Part 1
Part 1 of 3:
Cutting the Hair
-
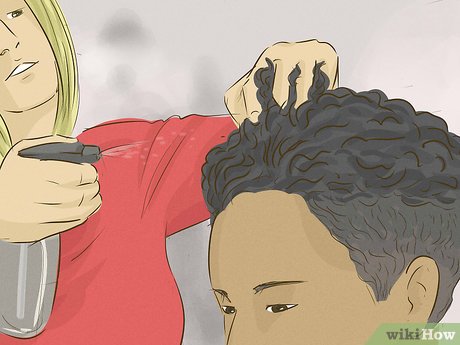
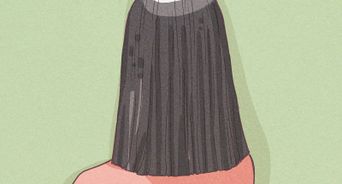
1Get the hair damp. Before you start cutting hair, spray it down so that you can easily mold and cut the hair. The hair should be lightly damp but not soaking wet. Take a towel and pat down the hair again to dry it slightly. Then grab a comb and part the hair.- Knowing where the hair will be parted is important because you may have to blend the shorter side a little more than the longer side depending on the style.
-
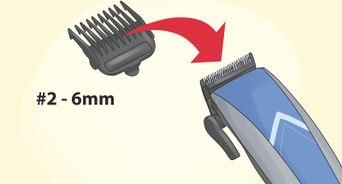
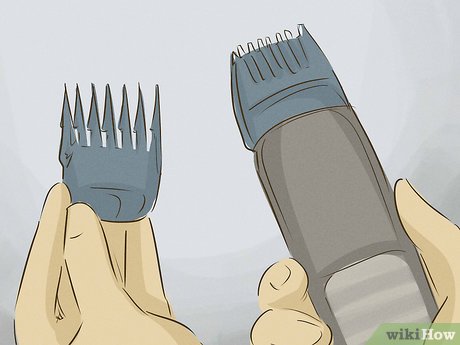 2Choose the right guard size for the fade line.[1]
A lower guard size means a shorter cut. Pick a higher guard number to start with like a #3.[2]
- You can use a higher number to get an even shave around the sides and back of the head as a baseline.
- To get the fade look you will switch to shorter guards as you move down. But by starting with the larger guard size you can easily get an even fade.
- You will shave the entire sides and back of the hair with your first guard and then repeat with a lower guard, moving part way down the head, leaving the top the length you just cut.
-
3Decide where you want the fade line(s). The fade line will determine where the hair transitions from one length to another. It will wrap all the way around the back of the head, essentially going from ear to ear.
- Fade lines don’t have to go straight across in the back. In fact, some fade lines dip slightly around the back of the head, then return to the original line before reaching the other ear.
- You can have more than one fade line. Start with one on your first cut; as you get more confident, try doing two.
- Where you position the fade line is a matter of personal taste. You can put it anywhere from slightly above the top of the ear to 2 or 3 inches (5.1 or 7.6 cm) above that.
-
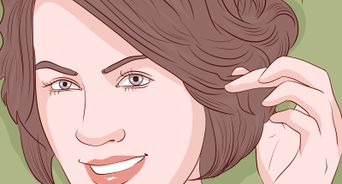
 4Section off the top portion of hair. Take a comb, and trace a rectangle above the round of the skull. This will separate the longer top hair from the shorter sides. Use a clip or an elastic band to keep this hair out of the way.
- If you are uncertain how big the rectangle should be, use the eyebrows as a guide. The lines of the rectangle should line up with the outer tips of the eyebrows. Include the entire crown at the back of the head.
-
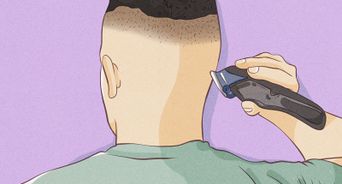
 5Move the clippers vertically as you begin to shave the hair. Just like shaving your face, the general rule of thumb is to shave in the opposite direction that the hair grows.[3]
Start at the sideburns and move the clippers in an upward motion as you back towards the head.- Do not cut the sectioned-off hair on top of the head.
- Move your clippers in an upward motion, moving out with an arc with each movement.
- With your free hand, lightly press down on the scalp just below where you are currently cutting. This will ensure a smooth, even cut.
-
6Move the clippers sideways across the fade line. This doesn’t mean turning the clippers horizontally though, keep them vertical. Remember that the fade line is where the hair transitions from one length to the next.
- Hold the clippers in your hand so that your thumb is over the top, with your other fingers beneath. Move your wrist in a “flicking” motion upward.
- To make the fade lines disappear and give the hair a consistent transition, you want to angle the clippers so that only the bottom third or quarter of the blade is actually touching the head at the fade line.
- The portion of the blade, the teeth, that isn’t touching the head will still cut the hair, but at a “natural” fade angle.
-
7Keep a steady hand and move in small sections. The slower you go and the more precise you are, the better the cut will look, and you won’t spend a lot of time in the end cleaning up uneven spots.
- Push the clippers forward a bit on uneven spots to make sure the blades are catching the hair.
- To cut behind the ears, pull the top of the ear down and cut straight up starting at the spot where the ear connects to the head. You may have to cut at an angle to get the hair behind the ear.
-
8Switch guards to continue fading the hair. Once you’ve got the base cut around the sides and back of the head, it’s time to switch to your next guard. If you Started with a #3, switch to a #2.[4]
- Repeat the same shaving technique as before, starting at the bottom and moving up.
- Don’t go all the way to the top. To get an even fade you’ll want to pick a spot where your next fade line will be. This will vary from person to person, but your second fade line should be above the ear.
- Depending on how much of a fade you want, you may have to switch guards again and repeat the process, shaving the lower portion of the head with a #1.
-
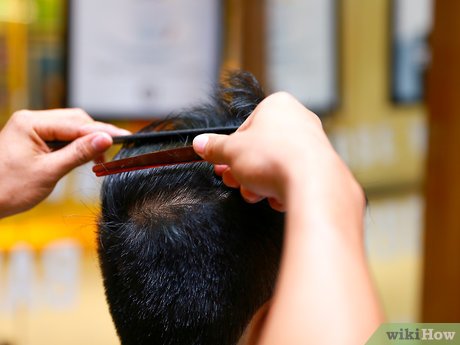
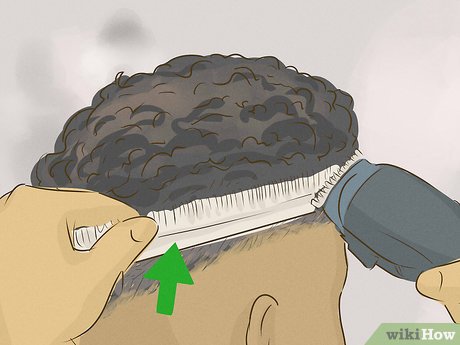 9Clean up the fade line with the clippers-over-comb method. Start to clean up the fade by grabbing a regular comb. (Use a white comb for dark hair, and a dark comb for light hair.) Angle the comb so that it’s at a 45-degree angle to the fade line and comb upward toward the top of the head, only moving the comb an inch or two into the hair. Run the clippers upward over the comb, from the fade line, so that they cut the hair that’s above the teeth.
- Repeat this process around the fade line(s), taking care to keep your combing distance the same all the way around.
- If done correctly, you should have a nice even fade with no visible fade lines. The hair should gradually get shorter as it gets closer to the base of the skull.
-
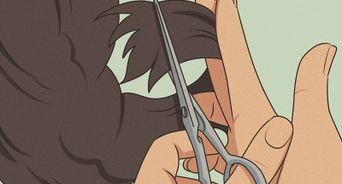
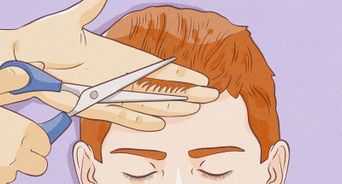
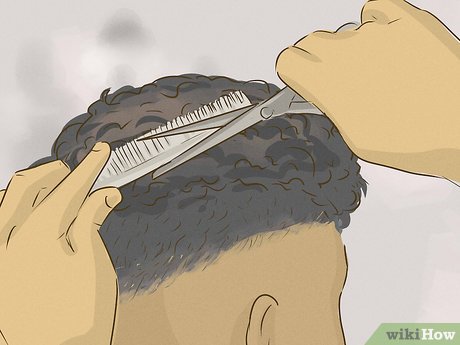 10Cut the top of the hair. Either use scissors if you want to keep the hair long, or a higher guard if you want a buzzed look. For something like a quiff, pompadour, or messy top, you’ll use scissors; while a caesar, or crew might need clippers.[5]
- To cut with scissors, use a comb or your fingers and pull the hair up, cutting above the fingers or comb a little at a time.The fingers or comb should be kept straight and parallel to the floor as you cut.
- Take into account the angle at which you are cutting. For a fade look with longer hair on top, you will want to cut the hair at an angle as you move towards the back of the head to blend it.
- Check the corners as you cut. To do this, pull out a lock from the top of the hair and check the edges. The corners of this cut should be soft.
- If too much hair is falling back from the top, you can use a thinning shear or clippers to trim it back.


Part 2
Part 2 of 3:
Making the Final Touches
-
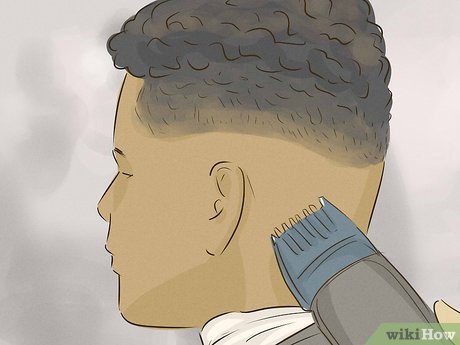 1Shave the bottom of the hair with a beard trimmer or unguarded clippers. Now you want to make sure that fade has a distinct ending point at the base of the head and bottoms of the sideburns. Take your trimmer or clippers and shave any remaining hair away.[6]
- You may not need to do this to the sideburns if the person whose hair you are cutting has facial hair connecting to the sideburns.
- Shave down the base of the neck and up a little way on the lowest fade to make sure that the hair is evened out.
-
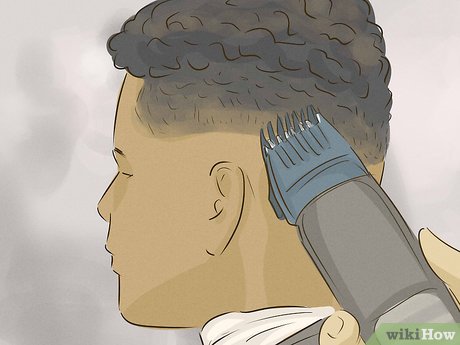 2Blur out any remnants of the visible line using your clippers. Look for any patches where the hair is uneven now and make sure to go over them again to clean them up.
- You may have to position your clippers at a bit of an angle to get any stragglers and even out the fade.
-
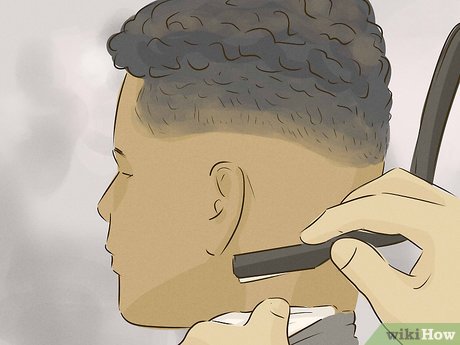 3Clean up the base of the neck. Now that your bottom fade line is established, cut the hair beneath it. Make sure you get the sections at the bottom of the neck that have thinner longer hairs.[7]
- Clean up the edges using a straight razor or the trimmer to make sure the edges of the cut are clean, as well as removing any neck hair.
- If you are using a straight razor, apply shaving cream to the area you are about to cut, then pad with a warm damp towel.
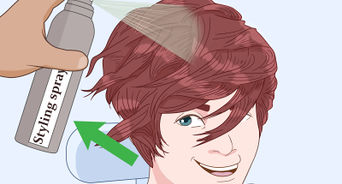
- Brush off any loose hairs and style the top with a pomade or gel for a finished look.
Part 3
Part 3 of 3:
Getting the Right Equipment and Prepping
-
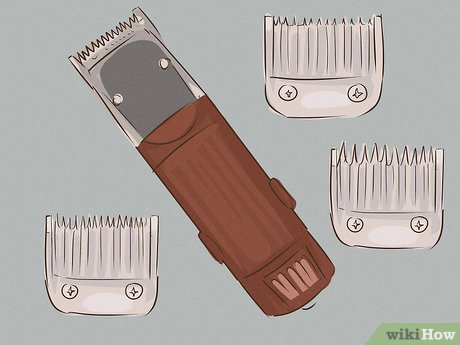 1Get a set of professional-grade clippers. Clippers can get expensive, but in order to ensure that you get a consistent fade, you’ll need clippers that are powerful and reliable. A great pair of clippers will make all the difference.[8]
- Some popular and highly rated clippers are:
- Oster Classic 76 Clipper w/ 2 Blades.
- Wahl Senior clippers.
- Andis Master clippers.
- Make sure the clippers come with at least 5 different guard sizes.
- It’s also a good idea to purchase a professional trimmer, which is used to line sideburns and clean up the areas around the ears, neck and forehead. Ask your barber where he purchases his, or look around online.
- Some popular and highly rated clippers are:
-
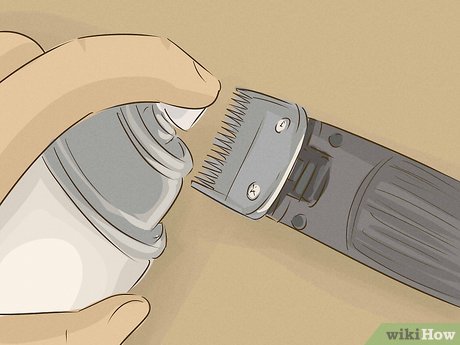 2Clean your clipper blades. Even if you have new clippers, you should make sure that they are clean before oiling them. Your clipper set should come with a cleaning solution, but if you don’t have a cleaning solution you can use distilled white vinegar.
- Make sure your clippers are unplugged and remove the blades.
- If you have a solution, spray the solution over your blades and let it sit before wiping off.
- If you are using distilled white vinegar put the blades to soak for a few minutes in a solution of vinegar.
- Avoid washing your clippers with soap and water as this can cause your blades to rust.
-
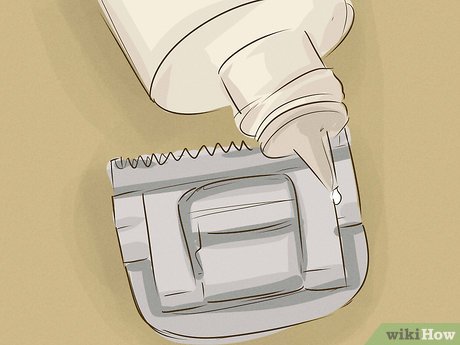 3Oil the blades before use. Read the instructions that come with your clippers to see if you need to remove the blades for oiling, or if you can simply point them toward the bottom of a sink and drop oil onto them. After you’ve applied oil to the blades, wipe off any excess with a soft, dry cloth.
- When oiling your clippers, you should make sure that you’ve brushed off any excess hair that might be in the blades.
- Turn your clippers on and drip the oil onto the blades, allowing the moving blades to become saturated.
- Run the blades for about 20 seconds.
- Thoroughly wipe the blades down, making sure that the tops of your blades are dry so hair doesn’t stick.
Video
Tips
-
Do not worry if your first fade cut doesn’t look perfect. It’s a technique that requires experience and practice.⧼thumbs_response⧽
-
You can do an easy fade by using three different guards. The first guard would be the longest (higher the number, more of the hair left), cut the whole head with this guard. The second guard would be the shortest, choose the fade line, but still go slightly beneath that. The third guard will be the medium size, this will help it blend, start a little lower than your fade line and go slightly above it. No more straight hard lines!⧼thumbs_response⧽
-
If you’ve never done this cut before, ask your barber to explain to you what he is doing when he cuts your hair the next time and ask for tips. It’s ok to be upfront and tell him that your friends ask you to cut their hair, or that you may want to keep your fade intact in between trips to him.⧼thumbs_response⧽

You Might Also Like


-Step-18-Version-2.jpg)


[ad_2]
Source link : https://www.wikihow.com/Give-a-%22Fade%22-Haircut-to-Males

