


[ad_1]
Steps
Part 1
Part 1 of 2:
Starting Your Chia Pet
-
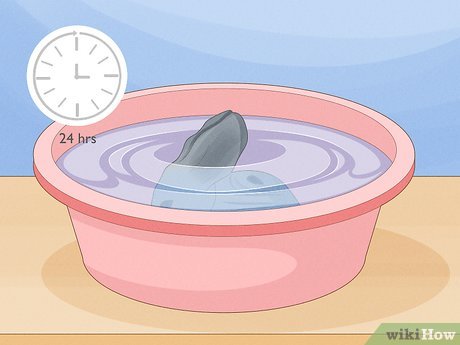
1Soak your Chia pet in water for 24 hours. Take the terracotta pot out of its packaging, and put it into a bucket filled with water. The pet needs to be completely submerged. This will moisten the entire pet, and help the seeds stick to it better.
-
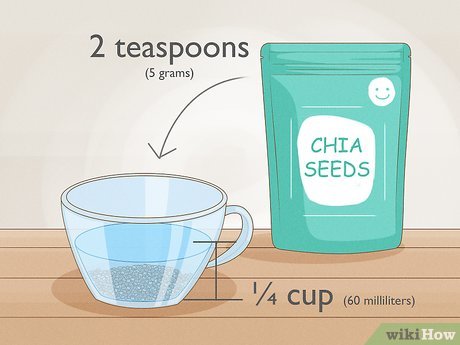 2Add water. While the pet is soaking, put 2 teaspoons (5 grams) of Chia seeds into ¼ cup (60 milliliters) of water. This softens the seeds, and “wakes” them up. The seeds will start growing once they get wet. This will be enough for one pet. Chia pet kits often contain enough seeds for several pets.
 -
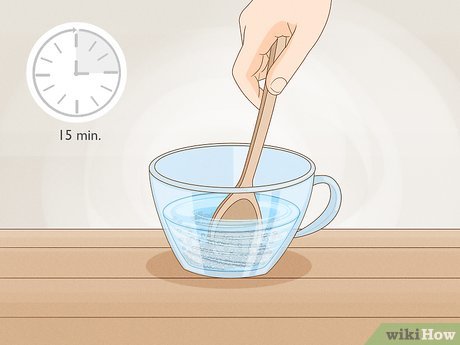 3Stir the seed mixture after 15 minutes with a spoon. This will help the seeds soak more evenly.[1]
You don’t need to stir the seeds again after this. -
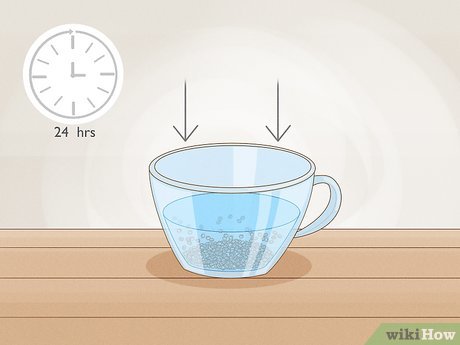 4Let the seeds soak for 24 hours. During this time, the seeds will form a gel-like coating. This will help them stick to the Chia pet.
 -
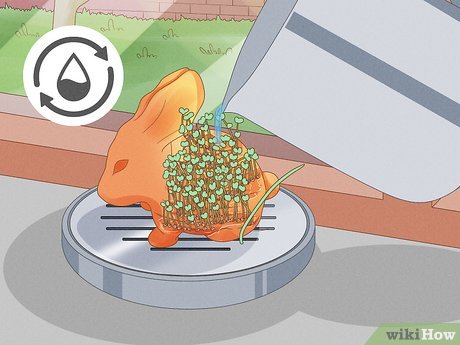
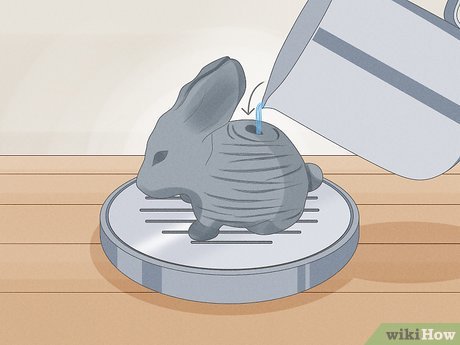 5Fill Chia pet all the way with water and place it in the tray provided. After the soaking time is over, take the Chia pet out of the water. Place it on the drip tray, and fill it with fresh water. The drip tray will catch any extra water. It will also protect your desk or windowsill from getting stained.
- If you don’t have a drip tray, use a plastic dish or lid that is a little bit larger than your pet.
-
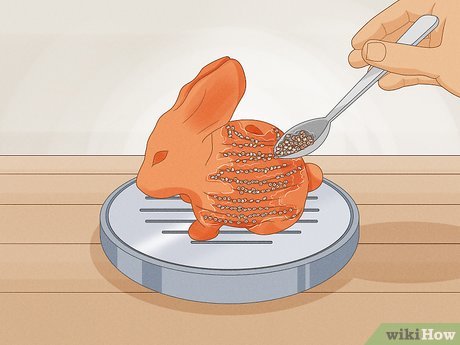 6Spread the seeds evenly over the grooves in your Chia pet. Make sure that the seeds are somewhat sparse and spread out. You can use your fingers, a small knife, or even a spatula. Try to spread the seeds as evenly as possible; don’t let them clump in any one area. If there is a hole in the top of your pet, take care to avoid it. This is where you will be pouring the water.
- You may not end up using all of the seeds.
- If your seeds aren’t sticking to the Chia pet, empty the pot, and spread the seeds over it again. Keep the pot empty, and don’t water the seeds 2 days.
-
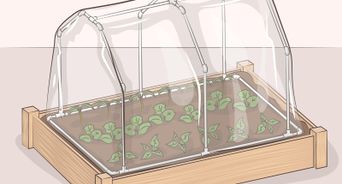
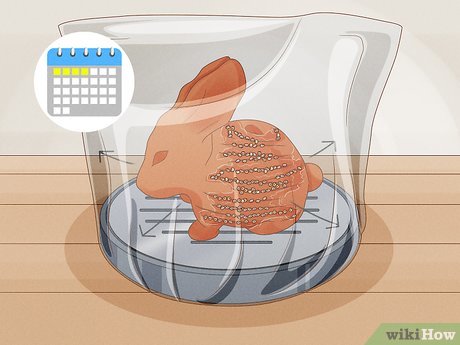 7Place a plastic bag over your Chia pet for the first 3 or 4 days if the air is dry. Don’t let the bag touch the actual pet, however, or the seeds won’t sprout. The plastic bag will help create a mini greenhouse for your Chia pet. Take the bag off after 3 to 4 days, when most of the seeds have sprouted.[2]
- If you are having troubles getting the bag to stay up, put a long stick inside the watering hole of your pet, then place the bag on top of that. The stick will prop the bag up, like a tent.
-
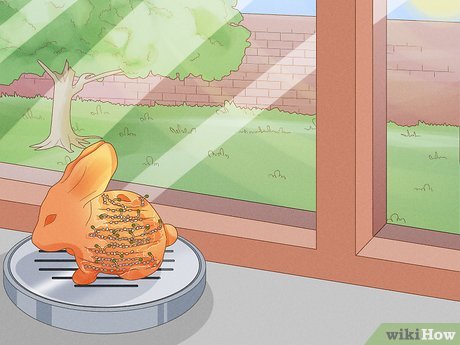 8Place the Chia pet in a sunny spot, and wait for the seeds to emerge. Some gardeners will recommend waiting until the seedlings sprout before moving the pet into a sunny spot.[3]
Part 2
Part 2 of 2:
Caring for Your Chia Pet
-
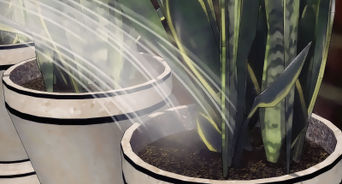
 1Check the water level every day, and refill the pet when it drops. Most Chia pets will have a hole at the top. You will need to pour the water through this hole. Try to use something with a narrow spout, such as a water bottle. If you get any water on the actual seeds, they may slide off.
- Some gardeners will recommend not watering the pet for the first two days so that the seeds can stick to the pot.[4]
- Some gardeners will recommend not watering the pet for the first two days so that the seeds can stick to the pot.[4]
-
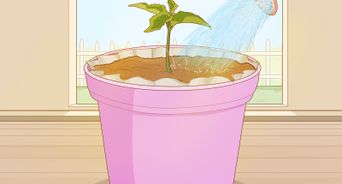
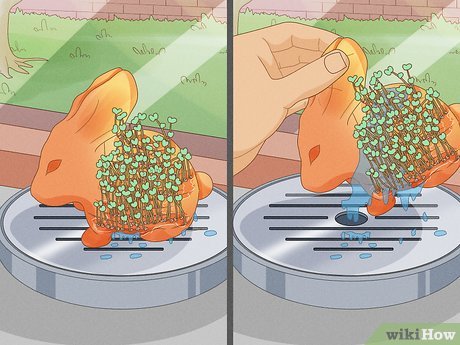 2Pour out the excess water from the drip tray every day. As you water your Chia pet, you may notice some water gathering in the tray. You should pour this water out as soon as possible, or it will become stagnant.
 -
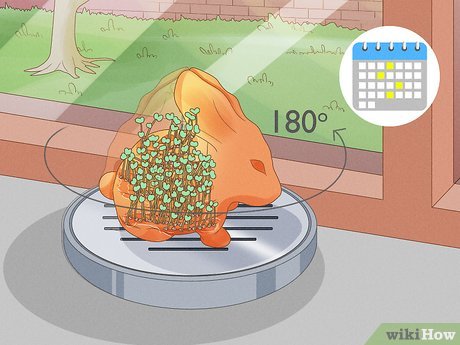 3Turn the pet 180 degrees once a week if you are keeping it next to a window. This will help the seeds grow more evenly. Plants in general tend to grow towards the sun. If only one side of your pet is facing the sun, one side will be bushy and full, and the other will be sparse and thin.[5]
-
 4Watch out for mold and mildew. White fuzz is normal when Chia seeds first sprout. However, misting the seeds with water will help to reduce the fuzzy appearance, so make sure to do this daily. This fuzz is simply the root hairs, and they will disappear after the first week. If you notice white fuzz after the first week, you will need to start your Chia pet over. Scrape the seeds off the pet first, soak the pet for 30 minutes in a solution made from 1 tablespoon (15 milliliters) bleach and 1 gallon (3.8 liters) of water. Rinse the pet well with fresh water, and plant your Chia seeds anew.[6]
-
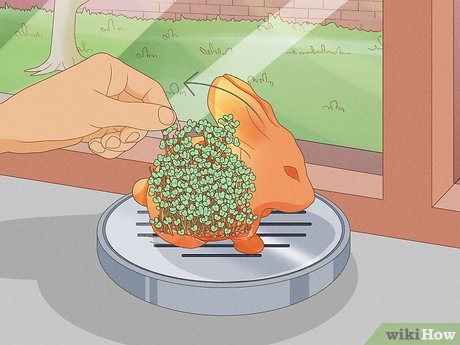 5Pull the sprouts off when they become unruly and overgrown. Simply pull them off, and wash the Chia pet well using water and a scrubbing brush. At this point, you can reuse the pet, and plant more Chia seeds.
- Don’t wait until the sprouts turn brown. They will be harder to remove.
Video
Tips
-
When the time comes to replant your Chia pet, try another type of plant, such as: alfalfa, basil, marjoram, thyme, or timothy.[7]
⧼thumbs_response⧽ -
The air tends to be dry especially during winter. If you are starting your Chia pet during the winter, drape a plastic bag over it to create a mini greenhouse. Make sure that the bag does not touch the actual pet however.⧼thumbs_response⧽
-
Don’t wait until the sprouts turn brown to remove them. It is a lot easier to do it when they are green. When they turn brown, a brush is needed to remove them!⧼thumbs_response⧽

Things You’ll Need
-
Chia pet
-
Bucket
-
Water
-
Small cup
-
Measuring spoons
-
Chia seeds
-
Drip tray (usually included with pet) or plastic lid
You Might Also Like


[ad_2]
Source link : https://www.wikihow.com/Grow-a-Chia-Pet

