


[ad_1]
Steps
Method 1
Method 1 of 4:
Starting Chamomile Seeds Indoors
-
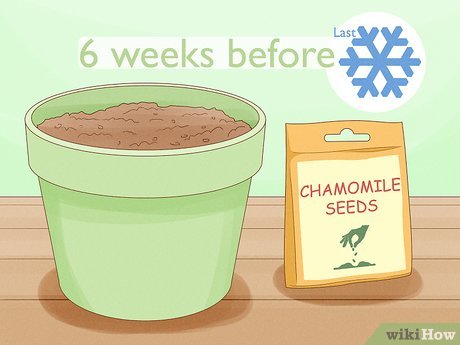
1Start indoor chamomile seeds in late winter. It’s best to start your seeds about six weeks before the last frost hits. For many regions, this will be in mid-February or early March. Adjust the timing based on your area’s typical weather patterns.[2]
-
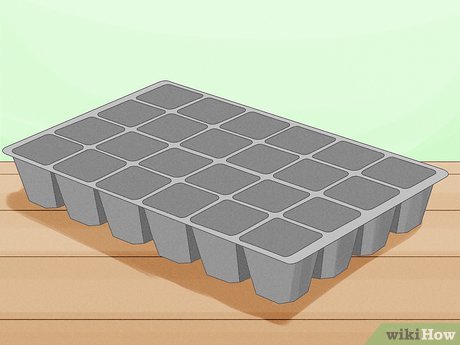 2Use a multi-container tray for sowing. Buy a seeding tray at a garden center. These come with multiple small containers, and they can be used to start several plantings.[3]
-
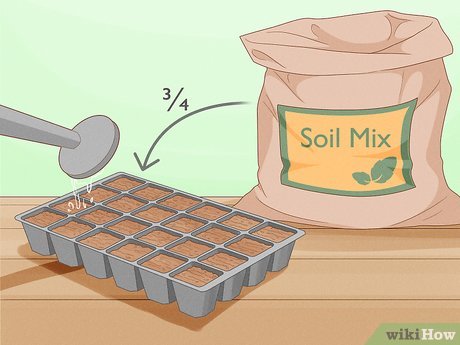 3Add moist seed sowing compost to the containers. Buy special soil mix meant for sowing seeds at your local gardening center or online. Fill each container about ¾ full with soil. Add enough water to make the soil moist.[4]
-
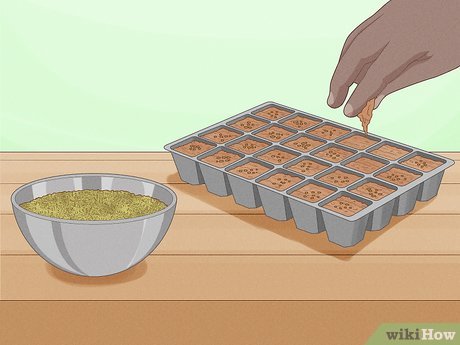 4Put seeds under a very light covering of soil. Pour chamomile seeds into an empty bowl. Use your finger to pick up several. Put about six in each container by scraping the seeds off your finger with your nail. Cover them lightly with just a little bit of soil.[5]
- You should still be able to see the seeds through their covering.
-
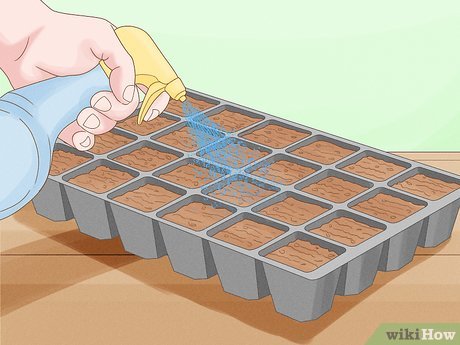 5Mist the containers with a spray bottle. Mist the seeds with water from a spray bottle right away. Continue checking on the seeds each day to make sure the soil stays moist, but not soaking. Spray the seeds as much as you need to keep the soil moist, probably about once per day.[6]
- You can keep the seeds covered with a loose sheet of plastic wrap if you’re concerned that the soil isn’t staying moist enough. The plastic will trap the moisture. Leave space for air circulation, and be sure to remove the plastic entirely as soon as you see any sign of green.[7]
- You can keep the seeds covered with a loose sheet of plastic wrap if you’re concerned that the soil isn’t staying moist enough. The plastic will trap the moisture. Leave space for air circulation, and be sure to remove the plastic entirely as soon as you see any sign of green.[7]
-
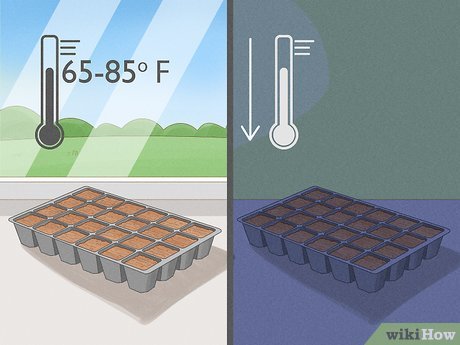 6Alternate the temperature to encourage germination. Ideal growing temperature is between 65-85℉ (18.33-29.44℃). During the day, put the plants in a sunny spot that’s set at the higher temperature. At night, make it a little colder. This will imitate the natural warm and cold cycles of the outdoors.[8]
-
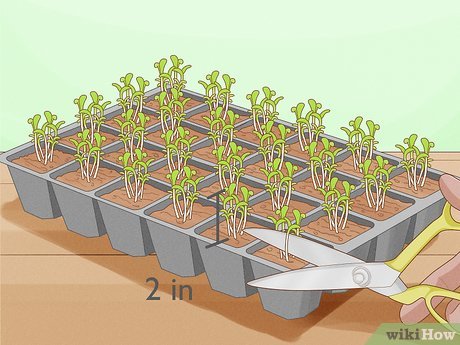 7Remove one seedling when plants are 2 in. (5.08 cm) high. This will leave only one healthy seedling in each container. To thin the chamomile seedlings, cut the seedling off at ground level. Don’t pull the seedling out by its roots, as you may disturb the roots of the chamomile plant you’re keeping.[9]
-
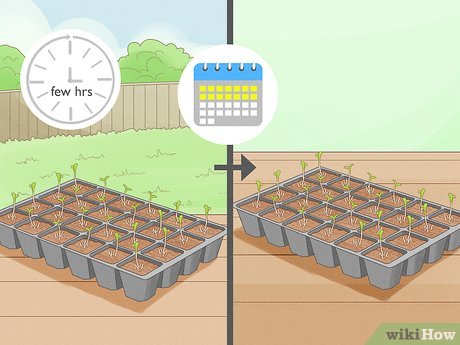 8Get your plants ready for transplanting for two weeks. Do what’s called “hardening off” the chamomile. This prepares them for life outside. Start by putting the plants outside in a covered area for a few hours per day. Increase their outdoor exposure by a few hours each day for two weeks.[10]
- Do this only when the weather cooperates. If the temperature drops or rises suddenly or there are strong winds, keep the plants inside to protect them. Gentle breezes, however, are good for the little guys.
- Alter the plants’ sun exposure as you go, giving them less and less shade over the course of the two weeks. Be sure to keep the soil moist during this time.
- Keep the plants indoors at night while hardening them off.
-
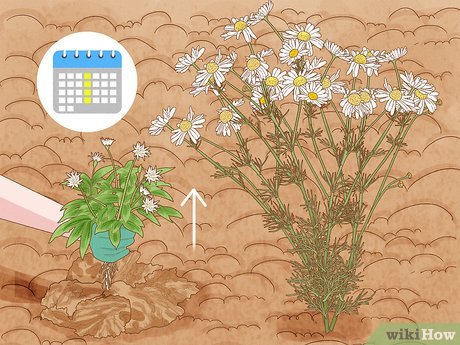
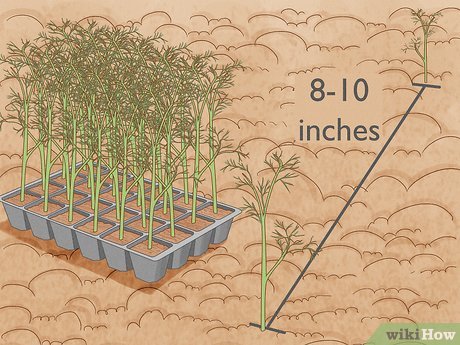 9Transplant after all danger of frost is past. This should be about six weeks after you started the seeds. Gently loosen the soil and remove the plantings from their containers, placing them in holes double the size of their root balls about 8-10 inches (20.32-25.40 cm) apart. Fill the holes back in with a mix of soil and slow-release fertilizer.[11]
- Water the plantings about an hour before you transplant them. Then gently mist them once they’re in the ground.
- Make the holes deep enough so the base of the leaves is at soil level.
Method 2
Method 2 of 4:
Starting Chamomile Outdoors
-
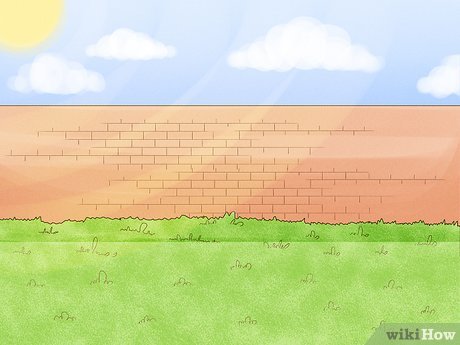 1Pick a sunny, warm spot for your chamomile. While chamomile can handle a little bit of shade, it prefers lots of sun. Set aside a spot in your garden that’s sure to enjoy plenty of light throughout the day.[12]
-
 2Rake and even out the soil to prepare it. Remove any rocks, clumps of soil, or weeds by raking and hoeing the area. Go at least 1 foot (30.48 cm) deep. Then rake the soil back into place and pack it down for a nice, smooth planting surface.[13]
-
 3Plant German chamomile if you have poor soil. German chamomile is a bit hardier than other varieties. It can handle a bit of clay or low nutrition in the soil.[14]
- German chamomile is technically an annual, which means it needs to be replanted each year. However, it self-seeds, so you don’t need to do the replanting! This means it actually acts like a perennial plant.
-
 4Plant Roman chamomile if you have well-drained, fertile soil. Roman chamomile does better in higher-quality soil. This variety is a perennial, meaning it doesn’t need to be replanted each year.[15]
- If you want to raise the quality of the soil, mix a slow-release fertilizer with the soil before you sow seeds.
-
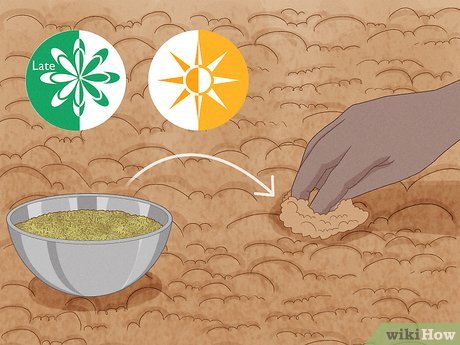 5Sow your seeds in late spring or summer to avoid frost. Be sure all threat of frost has passed before you put in the seeds. This timing will vary depending on where you live.[16]
- In the United States and Europe, you should be safe to plant by mid-May or June. Warmer states in the southern half of the U.S. may be able to start earlier, depending on the weather.
- If you’re in the southern hemisphere planting in someplace like Sydney, Australia, the last frost should occur in early August.[17]
-
 6Sprinkle the seeds on top of the soil. Sprinkle handfuls of seeds across the soil. Don’t worry about placement. You’ll make them into neat rows later.[18]
Use your hands to gently cover them with only a little bit of soil, as these seeds need light to germinate.[19]
- You should still be able to see the seeds under their light covering of soil.
-
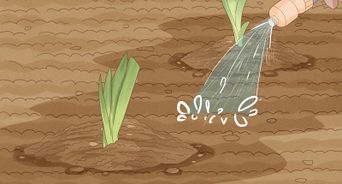
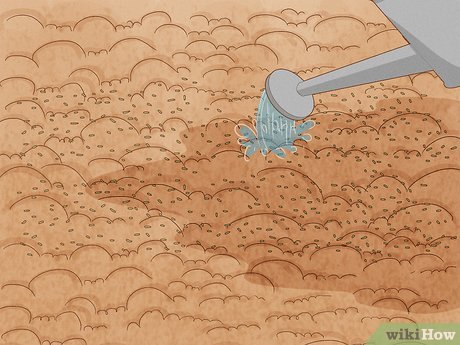 7Water the seeds until the soil is moist. The seeds need a lot of water to germinate, so start this process off as soon as they’re planted. Use the mist or shower setting on your hose to moisten the soil. Keep the soil moist throughout the germination period, and when the seedlings are small. This will probably require a daily watering.
 -
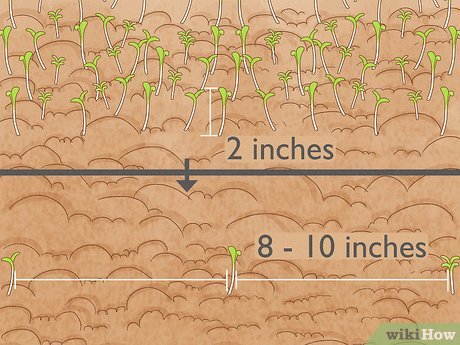 8Thin seedlings when they’re about 2 inches (5.08 cm) tall. Leave about 8 to 10 inches (20.32 to 25.40 cm) between each seedling, making neat rows of spaced plants. To thin the seedlings, cut the tiny plant off at ground level. Don’t pull the seedling completely out of the ground, as you may disturb the roots of the remaining seedlings.
 -
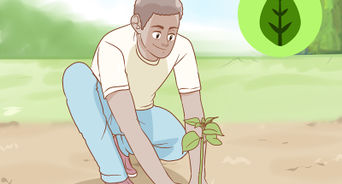
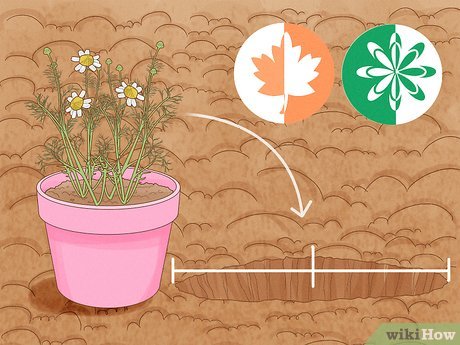 9Plant pre-grown chamomile in autumn or spring. If you want, buy mature chamomile plants at a garden center rather than starting the seeds either outside or indoors. Dig a hole double the size of the root ball and deep enough so the base of the leaves is right at soil level when the plant is put in the hole. Mix some slow-release fertilizer in with the soil, pack it down loosely, and water it until the soil is wet.[20]
- While perennial plants can be put in any time of year, they do best when started in early autumn or late spring. Annuals should always be planted during these times.
- The ideal planting time varies depending on your location, but you should generally stick to a season when the weather is turning and getting either warmer or colder. Avoid planting in extreme heat or cold.
Method 3
Method 3 of 4:
Taking Care of Your Chamomile Plants
-
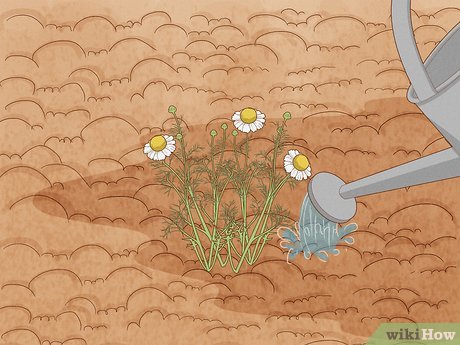 1Water young chamomile plants frequently. Until you see flowers on your plants, water them daily. This will give them the water they need to fully mature. Don’t soak the soil. Water until it’s just moist.[21]
- If you’re getting lots of rain, you may be able to reduce your watering. Especially if it’s hot out, however, check the soil even if it’s rainy.
-
 2
2 -
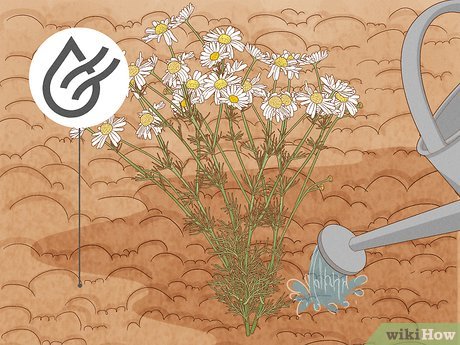
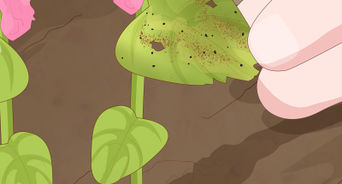
 3Keep weeds from stealing the plants’ nutrients. Make sure the chamomile garden stays free of nasty weeds! You don’t want them to choke off your chamomile. Give the garden a weekly once-over to remove these invaders.
- While chamomile may attract bees and butterflies, it’s usually pest free beyond that. You shouldn’t need to worry about pesticides.[24]
- While chamomile may attract bees and butterflies, it’s usually pest free beyond that. You shouldn’t need to worry about pesticides.[24]
-
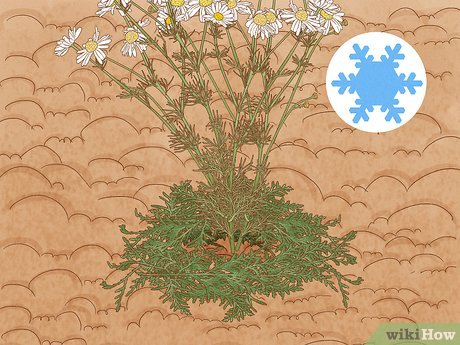 4Cover the plants with evergreen boughs to protect them during winter. Chamomile plants can survive outside during winter, but they need a little bit of protection from dry, harsh winds. Lay several evergreen boughs over the plants at the start of the cold season.[25]
Method 4
Method 4 of 4:
Harvesting Your Chamomile
-
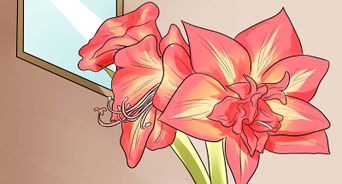
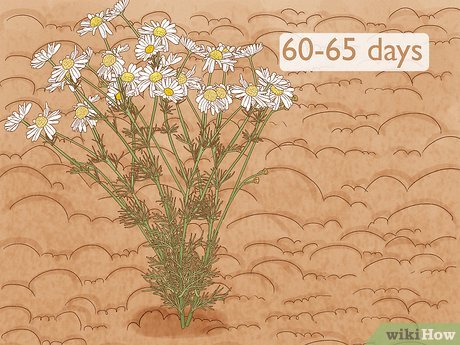 1Wait about 60-65 days for the plants to mature. It usually takes about two months from the time the seeds are planted for chamomile to produce flowers. This should occur by early to mid-summer, or about two weeks after you’re transplanted indoor seedlings.[26]
-
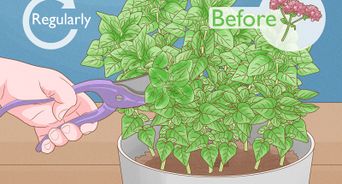
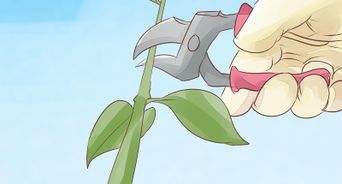
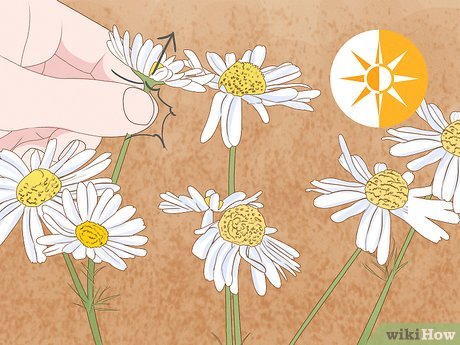 2Cut flowers throughout summer once they’ve bloomed. Your plants should continue blooming all summer long. As you snip off blooms with garden scissors, new ones should grow in their place. This will give you plenty of flowers to dry and enjoy all year round![27]
- Snip the flowers at the base of their individual stems. You can then trim the stems down to the base of the blooms for drying.[28]
- Snip the flowers at the base of their individual stems. You can then trim the stems down to the base of the blooms for drying.[28]
-
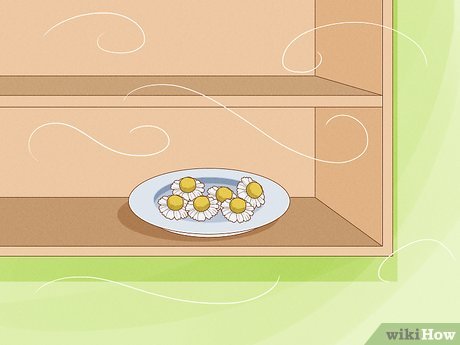 3Dry the snipped flowers away from dust and sun. Place the flowers on a plate and put them in a cabinet. This will allow them to dry fully. Wait until the plant crumbles easily to your touch, usually about 1-2 weeks later.[29]
-
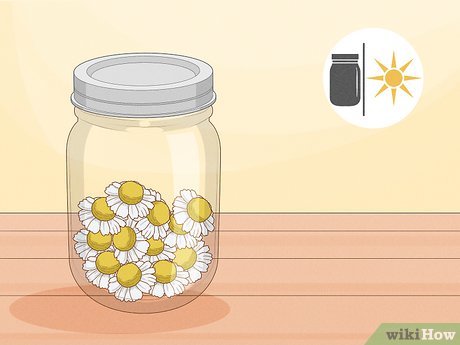 4Store dried chamomile in a sealed jar away from sunlight. Keep the dried flowers safe from moisture and sunlight, which could make them go bad. Mason jars work perfectly, and they’ll store easily in your pantry next to the tea.[30]
-
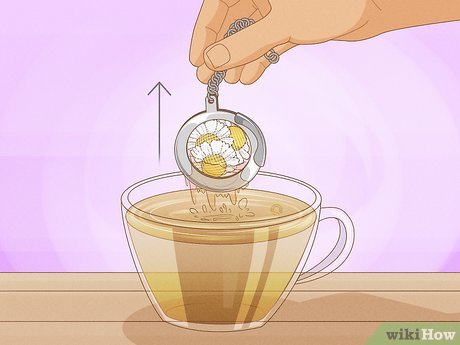 5Make tea with a teaspoon of dried flowers per cup. Using a tea ball, make chamomile tea! Put about a teaspoon (5.69 g) of dried chamomile into the tea ball. Let it steep for several minutes in hot water.[31]
- You can make tea with fresh flowers as well, although dried blooms work better. Double the amount you use.
- Add some honey to make this bitter-tasting tea sweeter.
-
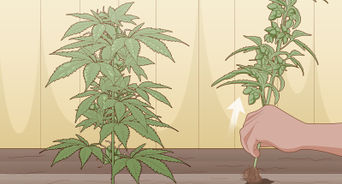
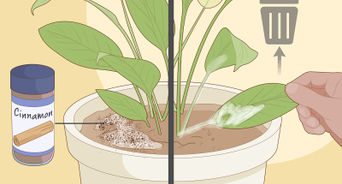
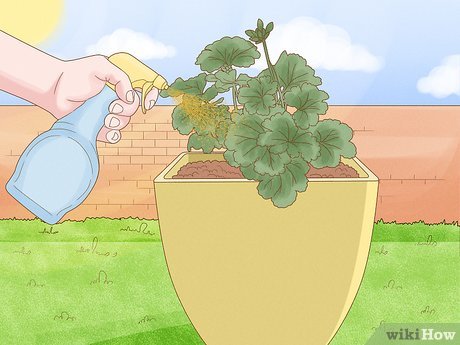 6Use chamomile tea to help other plants. Chamomile can help other plants by preventing fungal infections, aiding in seed germination, preventing pests, and acting as a natural deterrent in your garden.
- To prevent a fungal infection in saplings, spray a weak chamomile tea over them a few times a week. Spray them in the morning so that they can dry in the sun. Fungal infections are a common issue for saplings.
- To aid in seed germination, soak the seeds in a weak chamomile tea for 8 to 12 hours before you plant them.
- To use chamomile tea as an insecticide, make a triple strength tea by using more tea bags and allowing your tea to steep for 24 hours. You can then spray your chamomile tea onto your plants to prevent pests.
- If you spray chamomile tea onto your plants, it will act as a natural deterrent because of its strong scent.
Video
You Might Also Like


[ad_2]
Source link : https://www.wikihow.com/Grow-Chamomile

