


[ad_1]
Ingredients
-
1 cup (200 g) granulated white sugar
-
1/8 cup (30 ml) lemon juice (preferably bottled)
-
1/8 cup (30 ml) warm water
Steps
Method 1
Method 1 of 4:
Making DIY Sugar Wax
-
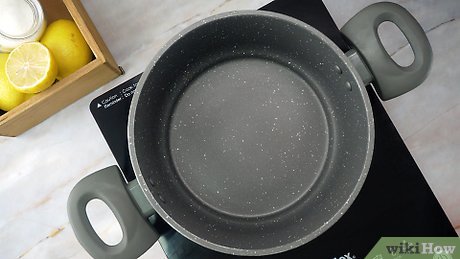
1Place a medium-sized pot on the stove. Even though this recipe makes a fairly small batch of sugar wax (approximately enough for 2 legs), use a medium or large pot to make it. The mixture starts to bubble when you heat it, and it can overflow if you use a small pot.
-
 2Add the white sugar, lemon juice, and warm water to the pot. Measure out the granulated white sugar and dump it into the pot. Then add the lemon juice and warm water. Stir to combine them.[2]
- Use white or brown granulated sugar. Powdered sugar won’t work at all.
-
3Bring the mixture to a boil over high heat. Turn your burner on high and let the mixture heat up until it starts to boil. Stir frequently. Keep an eye on the mixture, since it will start to bubble as it heats up.[3]
- Take care not to burn the mixture. If you do, it will completely solidify once it cools down, making it unusable.
-
4Reduce the heat to medium. Once the mixture starts bubbling and boiling, turn the heat down to medium. Continue to stir frequently. The sugar should be completely dissolved in the liquid at this point.[4]
- If the mixture continues to bubble rapidly at medium heat, turn it down to low.
-
5Remove the pot from heat when the mixture turns golden brown. Keep stirring the mixture as it simmers. Once it reaches a smooth consistency and becomes a deep golden color, turn off the heat and move the pot to another burner.
- The consistency should be similar to hot syrup. If it’s thick like honey, heat it a little longer.
-
6Pour the mixture into a bowl or jar and let it cool for 30 minutes. Unlike traditional hot wax, sugar wax should not be used hot. Pour it into a bowl or jar and give it about 30 minutes to cool down. If it still feels hot or warm enough to be uncomfortable, let it cool for several more minutes before proceeding.[5]
Method 2
Method 2 of 4:
Applying Sugar Wax
-
1Scoop up a small amount of wax with your fingers. The wax should still be warm but cool enough to touch, so you can use your fingers for the entire process. Scoop up a small amount and roll the wax into a ball with your hands.[6]
- You can use a butter knife or a wooden popsicle stick instead of your hands, if you prefer.
-
2Apply the wax to a small strip of skin. You can apply it with your fingers or a popsicle stick. Be sure to apply the wax in the opposite direction of hair growth. Spread it evenly until it’s about 1/4 in (0.6 cm) thick. Work in small sections that are only a few inches in length and width.[7]
- Yields enough wax for both legs (approximately)
-
3Take a deep breath and pull! Get a firm grip on the wax with your fingers and pull it off in the opposite direction of your hair growth. Make it quick, just like you are pulling off a bandage. It may hurt a little bit![8]
- You can also use your fingers to roll or pull it off, but this prolongs the pain. It’s better to make it quick.
- If desired, apply paper strips on top of the wax, smooth them out, and pull those off instead of the mixture itself.
-
4Continue to apply the wax in small sections until you’re done. You can reuse the same piece of wax 3 to 4 times, if you like. Or you can use a fresh amount of wax for each section of skin.[9]
-
5Pour any leftover wax into an airtight container and refrigerate it. If you have leftover wax, pour it into an airtight container, like a sturdy plastic Tupperware container. Pop it in the fridge and use it within 4 to 5 weeks. Reheat it before you use it.

Method 3
Method 3 of 4:
Preparing Your Skin for Waxing
-
 1Wash your skin with soap and water. Use warm water to open up your pores for a more pleasant, less painful waxing experience. Clean skin will also reduce your chances of getting infections, which are rare but worth being cautious about![10]
- Opening up your pores also reduces the risk of ingrown hair.
-
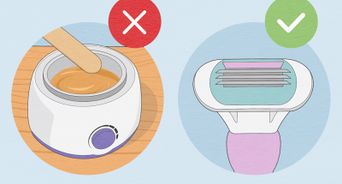
2Exfoliate gently 2 days before treatment. Use a bristle brush or nylon glove to rub your skin in a circular motion.[11]
Exfoliating will ultimately make the sugar wax stick better, because sugar wax will lift up dead skin cells in addition to hair. If you remove some of the dead skin, the wax can just do its job and stick to the hair.[12]
-
 3
3
Method 4
Method 4 of 4:
Caring for Your Skin After Waxing
-
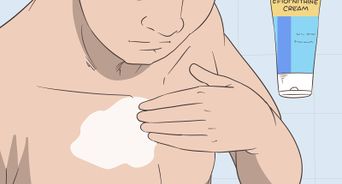
 1Moisturize with natural oils, body butter, or serums. You can moisturize immediately after waxing, as long as you’re not using harsh chemical products. Hydrating your skin keeps your skin smooth and free of ingrown hair.[15]
-
2Use a Dead Sea salt soak to alleviate itching. You should avoid touching your skin too much after a sugar wax, so try a sea salt soak to reduce inflammation and itching. Dissolve 1/2 teaspoon (about 2.75 g) of Dead Sea salt in 2 fluid ounces (59 mL) of water. Soak a soft washcloth in the salt solution and hold it to the irritated area for 15 minutes. Then, rinse the area with clean water.[16]
-
 3
3 -
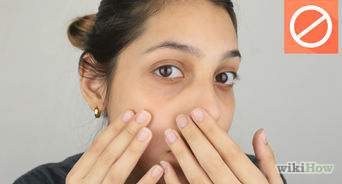
 4Hold off on products that might irritate your skin. Your skin will be pretty sensitive for 24 hours after sugaring, so steer clear of scented lotions, creams, and makeup (if you sugared your face). In addition, avoid harsh UV light and heat from saunas or steam treatments.[19]
- Avoid deodorant if you sugared your armpits.
Video
Things You’ll Need
-
Medium or large sized pot
-
Spoon
-
Clean bowl or jar
-
Popsicle stick (optional)
-
Paper strips (optional)
You Might Also Like


[ad_2]
Source link : https://www.wikihow.com/Make-Sugar-Wax

