Buy either pre-mixed or “setting-type” joint compound. Setting-type joint compound is in powder form. You should mix it in a “mud tray” using a taping knife. Do not use spackling. [1] X Research source
Joint compound, mud trays and taping knives are sold at hardware stores and home centers.
Setting-type joint compound is harder to apply smoothly and to sand, so it is not the best option for beginners. It is preferred by pros because it dries quickly.
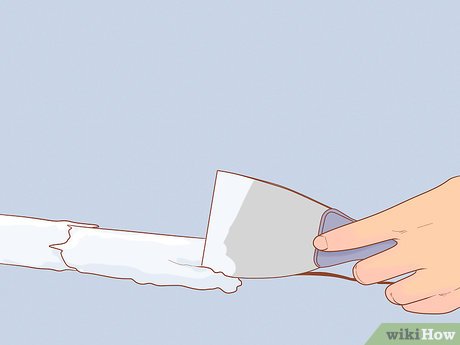
Apply coats of joint compound over the crack. Use a 3 to 4 in (7.6 to 10.2 cm) putty knife. Let the compound dry completely between coats. Layer on as many coats as necessary to fill the crack. The average is 3 coats.[3] X Research source
Drying can take from 20 minutes for each coat of setting-type joint compound to 24 hours for a thick first coat of pre-mixed compound.[4] X Research source
If the cut is deeper than 1⁄4 inch (0.64 cm), you may need to press a strip of mesh or paper tape into the first layer of compound before it dries to better seal the crack.[5] X Research source
Thinner coats are ideal as they’re easier to sand down to match the wall once dry.[6] X Research source
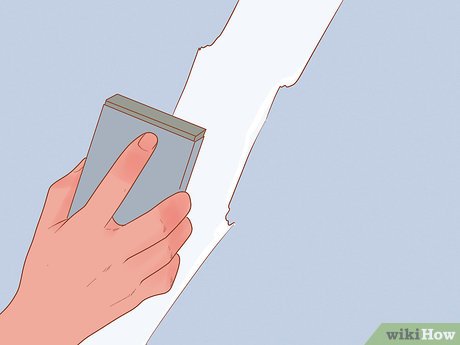
Sand the dried joint compound with medium-grit sandpaper. Use a sanding block to smooth out the section to the flatness of the wall. Always wear a dust mask when sanding to avoid inhaling particles.
80-grit (medium-grit) sandpaper can eliminate larger bumps whereas a finer 120-grit can be used for finishing touches.[7] X Research source
One option is to sand in between coats to avoid having to sand as much at the end.[8] X Research source
Paint over the crack with latex primer followed by wall paint. If you don’t use primer first, your patched area won’t blend in properly with the rest of the wall.[9] X Research source
The exception to this is if you used a paint and primer in one. Then you only need a coat or two of the paint directly on the affected area.
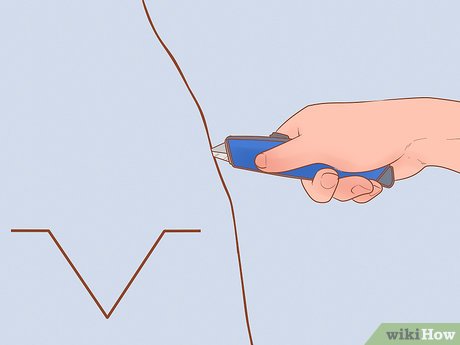
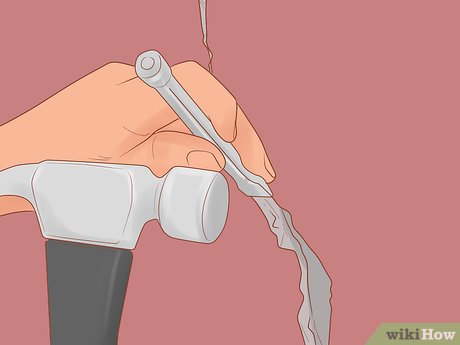
Enlarge the crack with a chisel and hammer. Patching material is heavy and will not fill a thin crack. A technique known as undercutting (which is essentially chipping away at the concrete) should be done to 1 inch (2.5 cm) below the edges of the crack. This provides more surface area for the patching material to grip.[10] X Research source
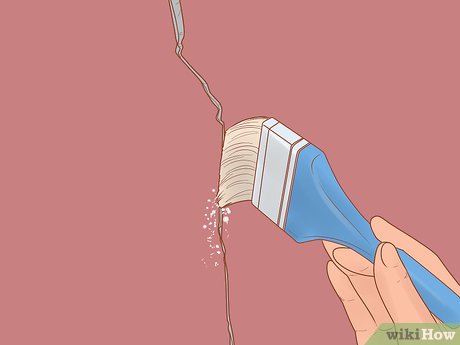
Prime the area with a concrete bonding adhesive. This will help the patching material adhere better to the concrete. You’ll want to use an old paintbrush to spread a thin layer around the edges and deep into the crack.
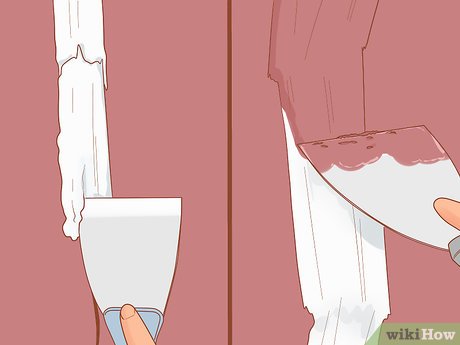
Apply multiple coats of concrete patching with a stiff putty knife or pointed trowel. Press each layer into the crack and let dry completely between coats. Repeat until the crack is filled and level with the rest of the wall.
Add texture to the patched area before it dries. The patched area will look bad if it is smoother than the surrounding area. Matching new concrete to old concrete can be hard. Test your method of adding texture by applying a coat of patching mix to piece of wood, and roughing it up to see if the texture matches. [12] X Research source
Sealing the patch with a heavy-duty water-based polyurethane with a brush can prevent stains and other marks.[13] X Research source
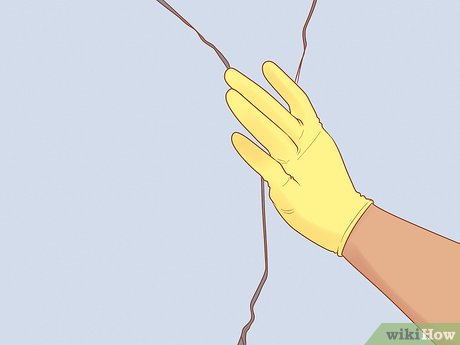
Press gently on the wall near the crack to see if it gives. If the plaster moves toward the wall, the plaster has likely come apart from the lath strips These are wooden strips, approximately 3/8″ x 1″ (1cm x 2.5cm), with thin gaps between them. [14] X Research source
If the plaster has come loose, screw it onto the lath strips using 1 1/4″ (3.2cm) drywall screws. Bury each screw head into the plaster. Do not use longer screws because there could be an electric cable behind the wall.
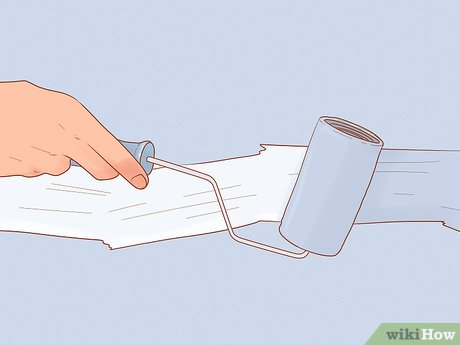
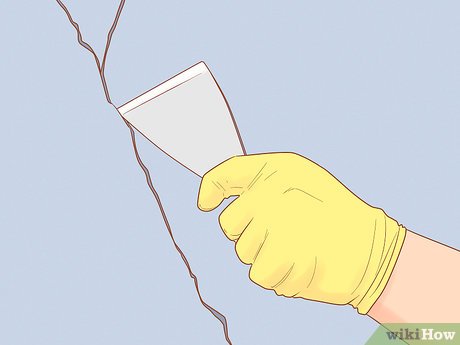
Widen the crack using a putty knife if it’s less than 1⁄4 inch (6.4 mm) wide. This will create a wider surface for the joint compound to adhere to.[15] X Research source
Spread ready-mixed or setting-type joint compound over the crack. Use a 6″ (15.2cm) taping knife or a 4″ (10.2cm) putty knife. Ready-mixed joint compound applies more smoothly, especially for beginners. Setting-type joint compound must be mixed using a “mud tray” and a taping knife or putty knife. It can be smoothed out when partially dry, so very little sanding is needed, preventing dust from spreading around the room. [16] X Research source
Dampening the crack before applying the compound will remove any loose particles and help the compound stick better.
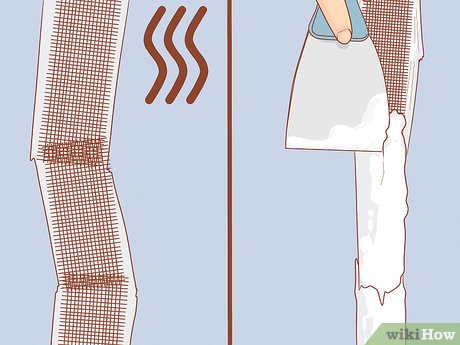
If the crack is large, cover it with self-adhesive fiberglass mesh tape before applying the plaster. This will prevent the new plaster from cracking there if there is movement in the wall which caused the crack.[17] X Research source
Let dry.
For setting-type joint compound to dry thoroughly, the room should be between 55 and 70 °F (13 and 21 °C).
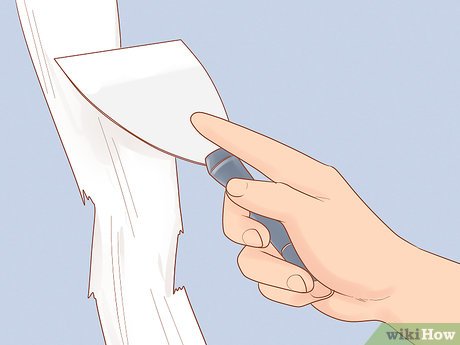
Apply 2 or 3 layers of compound over the taped area. The final layer can be smoothed out using a wet sponge. With each additional layer, extend the compound another 2 to 3 inches (5.1 to 7.6 cm) outside the previous layer’s edges. Your last layer should extend 12 inches (30 cm) beyond the original area. For this you should use a 6″ taping knife. [18] X Research source
Lightly sand each layer with a fine sandpaper to remove bumps.
Use a feathering technique when applying the compound. With the knife at a 70-degree angle, start at the center and pull the knife to the outside edges of each coat, increasing pressure the further away from the middle you get.[19] X Research source
Paint over the patched area to match the rest of the wall. If you can see a raised section where you did your repair, sand it flush to the wall before painting so it blends seamlessly.
It’s smart to wait at least 24 hours prior to painting to ensure the compound is completely dry..[20] X Research source
Tips
If you’re seeing cracks in your wall, it’s important to have your foundation inspected. While the cracks may simply be due to settling, they could indicate a problem with soil erosion or a leaning foundation.[21] X
Expert Source
If the wall was damaged by rain entering the wall, do not repair it until a week after a rain. Walls can stay damp for may days, and joint compound will not dry if the wall is even slightly damp.


