


[ad_1]
Things You Should Know
- Paint and cure a gel base coat, then add 1-2 layers of regular polish or a 50-50 mix of polish and gel transformer. Seal with a gel topcoat.
- Alternatively, paint your nails as usual with regular polish and seal them with a gel topcoat after the regular polish is 100% dry (it may take up to 24 hours).
- Apply sunscreen to your hands before your manicure or wear opaque gloves with the fingertips cut off to protect your skin from the UV or LED curing light.
Steps
Method 1
Method 1 of 2:
Gel Topcoat with Regular Polish
-
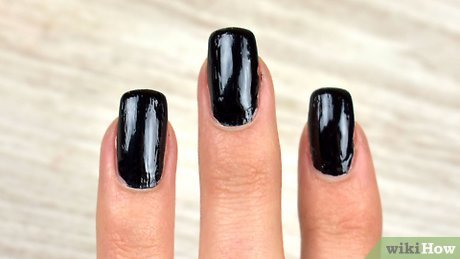
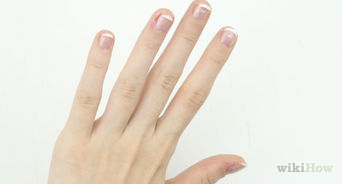
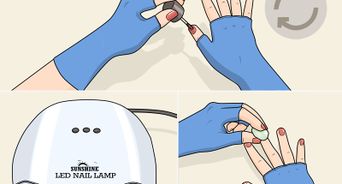
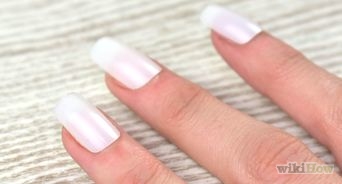
 1Paint your nails with regular polish like you normally would. To help the polish stick better, buff your nails with a nail buffer and apply a non-gel base coat. Then, paint your nails with the color of your choice—just don’t cap the free edge (you’re going to gel this later).[1]
- For a more vibrant or opaque color, add multiple layers of polish. Wait a few minutes between layers so the nails are dry before adding new layers.
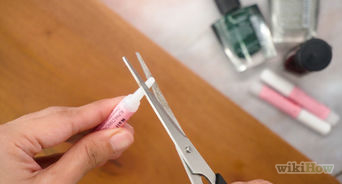
- Make sure your nails are cut and filed before you clean or paint them. If your cuticles need work, push them back and scrape away dead tissue.[2]
- If you’re worried about UV damage, apply SPF 30 sunscreen to your hands or put on opaque gloves with the fingers snipped off before painting.[3]
-
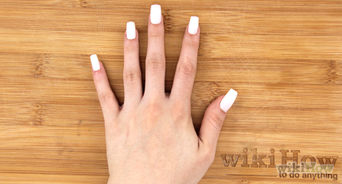
 2Let the regular polish dry completely. Wait at least 4-6 hours after you put on your last coat to make sure the paint is dry to the touch.[4]
If you applied multiple or thick layers, wait 24 hours for the polish to dry completely (that’s how long it takes for the liquid ingredients to evaporate away). The gel topcoat won’t adhere to the polish very well if it’s still wet.[5]
- If the regular polish is still too wet, the top coat might peel or slide off. The regular polish might also wrinkle or crack underneath the gel, too.[6]
- If the regular polish is still too wet, the top coat might peel or slide off. The regular polish might also wrinkle or crack underneath the gel, too.[6]
-
3Paint on the gel topcoat. Brush a thin layer from the base of each nail to the tip.[7]
Make sure to coat the entire nail and cap the free edge for the best seal. Wipe away any gel that gets on your cuticle or skin before you cure it with a cotton pad dipped in acetone or 91% isopropyl alcohol, otherwise it will be very difficult to remove.[8]
-
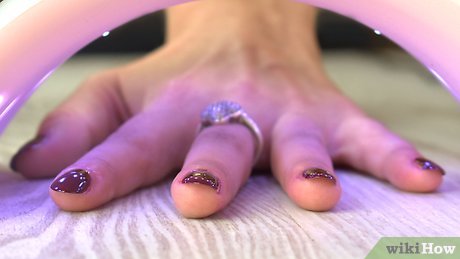
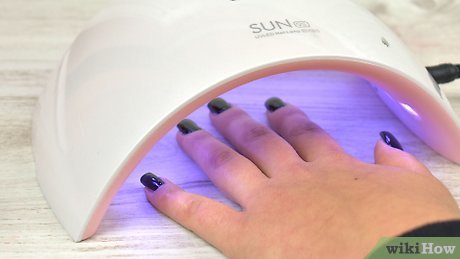 4Place your hand under an LED or UV light to cure the gel topcoat. Check the instructions on your product for the exact amount of time—many LED lights only take 30 seconds, while UV lights usually take 2 minutes. At-home LED or UV lights are available online or at most department and beauty stores. Get a large one that can do a whole hand at once, or a mini one designed for one nail at a time.[9]
- Paint and cure your thumbs separately since the angle of the thumb when you place your whole hand under the light makes it hard to light the whole nail.[10]
- Only keep your nails under the light for the recommended time—excess exposure can increase your risk of premature skin again or even cancer.[11]
- Paint and cure your thumbs separately since the angle of the thumb when you place your whole hand under the light makes it hard to light the whole nail.[10]
-
5Wipe away the tacky layer with a lint-free alcohol wipe. Pour 91% isopropyl alcohol onto a lint-free wipe or pad (or use disposable alcohol wipes) and wipe away the sticky layer remaining on each nail. Use a new wipe for each nail to avoid transferring the tacky residue from one nail to another.[12]
- Stick to lint-free wipes rather than cotton balls—they can leave fuzz on your fresh manicure.
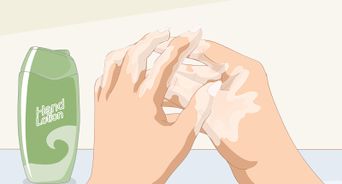
- Apply cuticle oil to your cuticles if they’re feeling dry. Just wait 1-2 minutes for the alcohol to dry before putting it on.
Method 2
Method 2 of 2:
Gelly Sandwich Technique
-
1Buff your nails with a nail buffer to remove shine. Choose a fine buffer (220-grit or higher) and and swipe over each nail 6-8 times. Use smooth strokes and make “X” shapes with the buffer to slightly toughen up the surface—this will make your gel base coat stick better.[13]
- Alternatively, use a very fine nail file and go over each finger with just a few light strokes.
- Err on the side of buffing too little rather than too much to avoid wearing down your nails.
-
2Wipe your nails clean with an alcohol-soaked, lint-free wipe. Dip the wipe in 91% isopropyl alcohol (or grab a disposable alcohol wipe instead) and go over each nail, making sure to wipe the cuticles too. This gets rid of the dust from your buffing as well as any other debris lingering on your nails.[14]
- If the alcohol is too drying, try a non-acetone nail polish remover instead.
- Skip the cotton balls for cleaning your nails—they might leave behind fibers or fuzz.
- To protect your skin from the UV or LED light, put SPF 30 sunscreen on your hands before cleaning your nails, or wear opaque manicure gloves.[15]
-
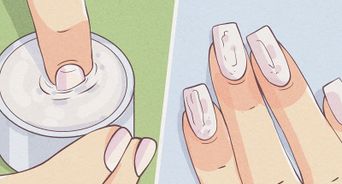
3Paint on a gel base coat. Brush a thin layer of gel base coat from the base of each nail to the tip. Make sure the entire nail is covered, then swipe the brush along the free edge of your nail to cap the tip. Try to avoid getting any gel on your skin or cuticles.[16]
- If you get any gel on your skin or cuticles, wipe it away with a clean alcohol wipe before you cure the base coat in the LED or UV light.
-
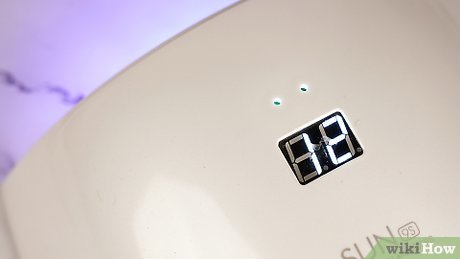
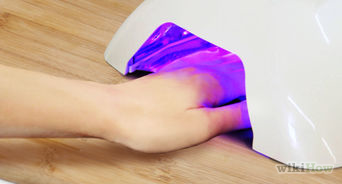
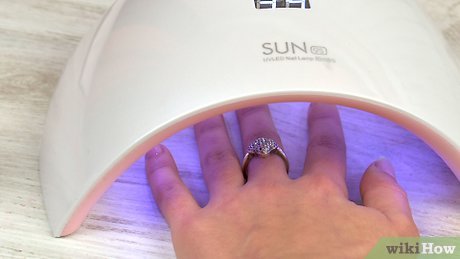 4Cure the base coat with an LED or UV lamp. Place your nails under the light for the amount of time indicated in your base coat’s instructions—LED lights can take as little as 5 seconds, and UV lights might take around 1 minute.[17]
Cure your nails in 3 rotations (4 fingers on one hand, thumbs, then your remaining 4 fingers on your other hand) to make sure all nails get full exposure to the light.[18]
- Only leave your fingers under the light for the specified time. Too much UV or LED light can prematurely age your skin or increase your risk of cancer.[19]
- Only leave your fingers under the light for the specified time. Too much UV or LED light can prematurely age your skin or increase your risk of cancer.[19]
-
5Wipe each nail with an alcohol wipe to remove the tacky residue. Use a disposable alcohol wipe or a lint-free pad soaked in 91% isopropyl alcohol (just like you used to clean your nails earlier). Wipe each nail thoroughly—the curing process leaves a sticky inhibition layer that you definitely want gone before you add color![20]
-
6Mix equal parts polish and polish to gel transformer in a mixing plate. Use your polish brush to mix them together to avoid getting any color into the clear gel transformer. Mix thoroughly so the two are evenly blended. Know that if there’s more gel transformer than polish, the color may turn out lighter than it looks in the bottle.[21]
- If you don’t have a specific polish to gel transformer, try using a gel topcoat instead.
- Alternatively, apply several thin coats of regular polish to the gel base. Wait 5 minutes between layers and add thin coats until the color is opaque.[22]
-
 7Paint on a layer of gel-polish mixture and cure it, then repeat. Use your polish brush to apply the mixture to your nails, brushing from base to tip (no need to cap the free edge just yet, but it’s OK if some polish gets on there). Once your nails are painted, cure them under the LED or UV light again. Check the gel transformer instructions for timing—it’ll probably be 30-60 seconds.[23]
- Add a second coat and cure again. If the color is not as opaque as you want it, keep adding layers and curing in between until you’re satisfied with the look.
- If you opted to use regular nail polish, wait several hours (up to 24) for it to thoroughly dry before adding a gel topcoat.[24]
-
8Apply your gel topcoat once your last layer of polish is totally dry. If you used a gel transformer, you’re good to go after your last curing under the light. If you used regular polish, wait up to 24 hours before adding the topcoat to ensure there’s no moisture left in the polish. Brush from base to tip and cap the free edge of your nail to seal it all in.[25]
- Wipe off any topcoat that gets on your skin or cuticles with a clean alcohol wipe.
- If the color layer is not fully dry, you’ll trap moisture under the topcoat which can lead to wrinkling, cracking, or even fungus (in rare cases).
-
 9
9 -
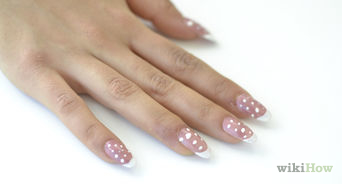
10Wipe off the tacky layer to reveal your amazing manicure. Use a clean alcohol-soaked pad or disposable wipe to gently remove the inhibition layer from each nail. Wait a minute or so for the alcohol to dry, then apply cuticle oil to rehydrate your cuticles and alleviate any feelings of dryness.[28]
- Your final results may vary based on the brands you used. If it doesn’t turn out perfect, experiment with different products next time for a better result.
Video
Things You’ll Need
-
Regular nail polish
Tips
-
Be patient while you wait for your regular nail polish coats to dry when you mix regular and UV gel polishes. The drier the polish, the better your end result will be.⧼thumbs_response⧽
-
Avoid putting regular polish on top of UV gel with a gel topcoat. Without a topcoat, the polish will quickly peel off since it doesn’t adhere to the gel strongly on its own.⧼thumbs_response⧽
-
Use UV or LED lamps that are big enough to fit an entire hand to speed up your curing time.⧼thumbs_response⧽

Warnings
-
Excessive use of UV or LED light can expose your skin to high levels of UV radiation. If you do gel manicures frequently, always apply sunscreen beforehand or wear a pair of opaque fingerless gloves to shield your hands from the light.[29]
⧼thumbs_response⧽
You Might Also Like


[ad_2]
Source link : https://www.wikihow.com/Use-Both-Regular-and-UV-Gel-Nail-Polish-Together

