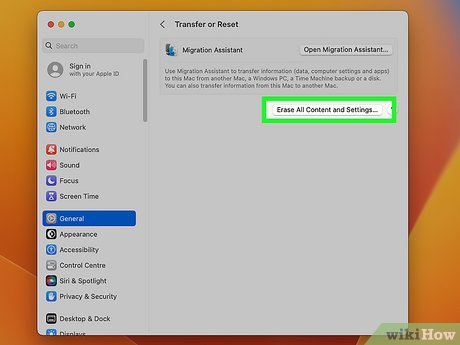
Click Erase all Content and Settings. This opens the Erase Assistant on your MacBook Pro, which prompts you for your password.
This option is only available if you’re using macOS Ventura on a MacBook Pro using the Apple Silicon chip (2021 models and later), or the Apple T2 Security chip (models from 2018 and later).[1] X Research source
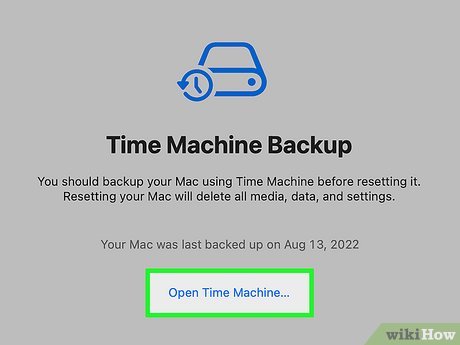
Create a backup when prompted. Depending on your backup settings, you may be prompted to back up your Mac to an external hard drive using Time Machine.
To create a backup, connect an external drive (such as a USB flash drive), click Open Time Machine…, and follow the on-screen instructions.
If you’ve already created a backup or don’t have any data you want to keep, click Continue to skip backing up again.
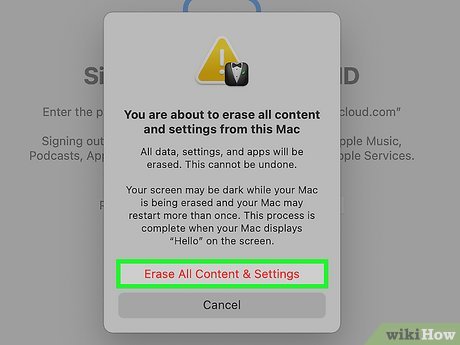
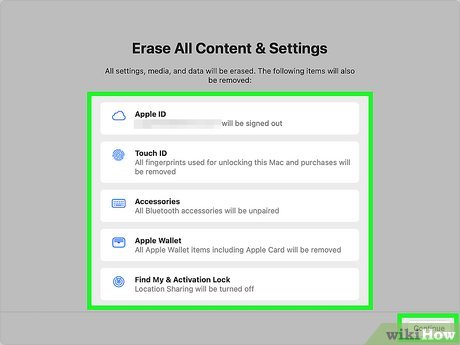
Review the data to be erased and click Continue. This screen displays a list of all items that will be deleted if you proceed with resetting your MacBook Pro.
If you’re prompted to sign out of your Apple ID, enter your Apple ID passcode and click Continue.
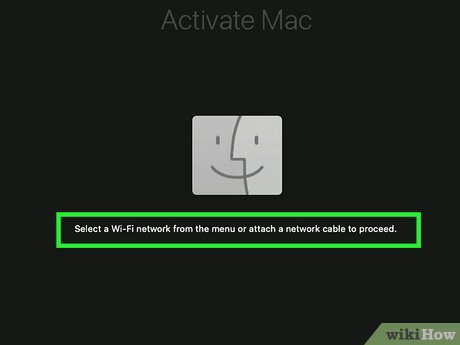
Activate your Mac. After your Mac is erased, you may be asked to connect a network cable or select a Wi-Fi network to begin activation. Follow the on-screen instructions to activate your Mac.
Click Restart to complete the reset. This restarts your MacBook Pro and launches the setup assistant, which will guide you through setting up your laptop as if it were new.
If you’re selling, giving away, recycling, or trading in your MacBook, you’re finished. The new owner, if any, should complete the setup process.
If you’re keeping your MacBook Pro, follow the on-screen instructions in the setup assistant to sign in and restore your backed-up data.
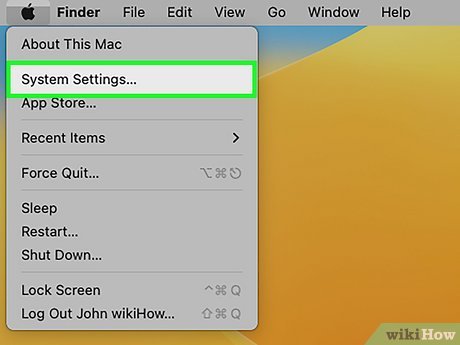
Open your Mac’s System Preferences. You’ll find it in the Apple menu at the top-left corner of your screen.
Resetting your MacBook Pro will delete all of the data on your computer. If you’ve created a backup using Time Machine, you’ll be prompted to back up again before you reset your MacBook. If not, be sure to make a backup before you reset your computer.
This method will only work if you’re using macOS Monterey on a MacBook Pro using the Apple Silicon chip (2021 models and later), or the Apple T2 Security chip (models from 2018 and later).[2] X Research source
If you have an older MacBook Pro, see this method instead.
Click Erase all Content and Settings on the menu. This opens the Erase Assistant on your MacBook Pro, which prompts you for your password.
This option is only available if you’re using macOS Ventura on a MacBook Pro using the Apple Silicon chip (2021 models and later), or the Apple T2 Security chip (models from 2018 and later).[3] X Research source
Create a backup if prompted. If you’ve previously used Time Machine to create a backup of your MacBook Pro, you’ll be prompted to create a new backup before you continue.
To create a backup, connect an external drive (such as a USB flash drive), click ‘Open Time Machine…, and follow the on-screen instructions.
If you’ve already created a backup or don’t have any data you want to keep, click Continue to skip backing up again.
Review the data to be erased and click Continue. This screen displays a list of all items that will be deleted if you proceed with resetting your MacBook Pro.
If you’re prompted to sign out of your Apple ID, enter your Apple ID passcode and click Continue.
Activate your Mac. After your Mac is erased, you may be asked to connect a network cable or select a Wi-Fi network to begin activation. Follow the on-screen instructions to activate your Mac.
Click Restart to complete the reset. This restarts your MacBook Pro and launches the setup assistant, which will guide you through setting up your laptop as if it were new.
If you’re selling, giving away, recycling, or trading in your MacBook, you’re finished. The new owner, if any, should complete the setup process.
If you’re keeping your MacBook Pro, follow the on-screen instructions in the setup assistant to sign in and restore your backed-up data.
Back up your Mac if possible. Since restoring your Mac to its factory settings will erase everything on your hard drive, it’s a good idea to back up anything that you want to save before doing so.
Find out if your MacBook Pro has an Apple or Intel processor. The steps to reset your MacBook Pro will be different for Apple Silicon and Intel processors. Before you continue, here’s how to check your processor:
Click the Apple menu.
Click About This Mac.
If you have Apple Silicon, you’ll see a “Chip” section in the menu, followed by a name that starts with the word “Apple.”
If you have an Intel processor, you’ll see a “Processor” section, followed by the name of an Intel processor.[4] X Research source
Sign out of iCloud and iMessage. Before resetting your Mac, you’ll want to sign out of iCloud on all versions of macOS, including Ventura and Monterey. Follow these steps to do so:
Ventura:
Click the Apple menu and select System Settings.
Click your name in the sidebar.
Click Sign Out on the right panel.
Open the Messages app.
Click the Messages menu and select Settings.
Select iMessage and click Sign Out.
Earlier versions:
Click the Apple menu and select System Preferences.
Click Apple ID (Catalina, Big Sur, and Monterey) or iCloud (earlier versions).
Start your MacBook Pro in Recovery Mode. The steps to do this will be a little different depending on whether your MacBook Pro has an Intel or Apple Silicon processor:
Apple processors:
Shut down your Mac. Wait until your Mac’s screen is black before you continue to the next step.
Press and hold the power button to start your MacBook. Do not lift your finger from the power button until you see the startup option screen—this screen displays your disks and an “Options” gear icon.[6] X Research source
If prompted, enter your password to continue.
Intel processors:
Shut down your Mac. Wait until your Mac’s screen is black before you continue to the next step.
Turn on your MacBook Pro, then immediately press and hold Command + R at the same time. Continue holding these keys down until you see the Apple logo or another image.
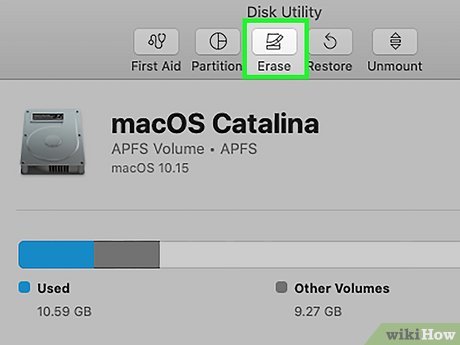
Select your Mac’s hard drive. Click the Mac’s hard drive’s name in the upper-left side of the Disk Utility window.
Your Mac’s hard drive will be named “Macintosh HD” if you didn’t rename it.
If you have an Apple Silicon processor and previously used Disk Utility to create volumes on your hard disk, you’ll need to delete those volumes. To do so, select each volume and click the – symbol.
Ignore any volumes called Macintosh HD or Macintosh HD – Data. You’ll also want to ignore any volumes listed under “External and Disk Images.”
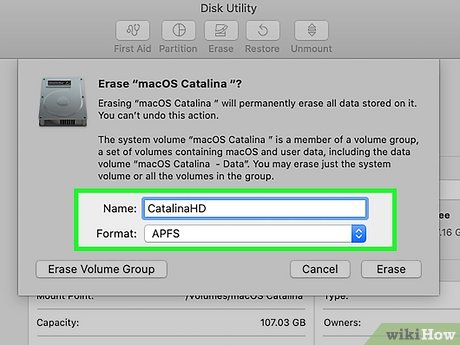
Enter a name and format type. Use the name Macintosh HD in the Name field. In the Format area, use the default option suggested by Disk Utility, which will be either APFS or Mac OS Extended (Journaled).
Click Reinstall macOS and follow the on-screen instructions. The remaining steps will walk you through installing macOS on your MacBook Pro. This will be the same version of macOS that came preinstalled.
When prompted, select a wireless network or connect your Mac to the internet using an ethernet cable.
Once MacOS finishes downloading, you’ll be able to install and set up the operating system as though the Mac were brand-new. If you plan to sell or give away your MacBook Pro, follow the on-screen instructions to reinstall macOS. When you get to the “Your Mac is Activated” screen, click Restart, and allow the next owner to complete the final setup steps.
Tips
Submit a Tip
All tip submissions are carefully reviewed before being published


