{“smallUrl”:”https://www.wikihow.com/images/0/04/File_Explorer_Icon.png”,”bigUrl”:”/images/thumb/0/04/File_Explorer_Icon.png/30px-File_Explorer_Icon.png”,”smallWidth”:460,”smallHeight”:460,”bigWidth”:30,”bigHeight”:30,”licensing”:”<div class=”mw-parser-output”><p>Original file from Wikipedia: <a target=”_blank” rel=”nofollow noreferrer noopener” class=”external free” href=”https://en.wikipedia.org/wiki/File:File_Explorer_Icon.png”>https://en.wikipedia.org/wiki/File:File_Explorer_Icon.png</a> The file itself is licensed under the Creative Commons Attribution Share-Alike license, but the icon itself is under copyright by Microsoft. This icon is used on wikiHow as fair use because it is being used to provide how-to instructions.n</p><p>License: <a target=”_blank” rel=”nofollow noreferrer noopener” class=”external text” href=”https://en.wikipedia.org/wiki/Fair_use”>Fair Use</a> (screenshot)<br>n</p></div>”}
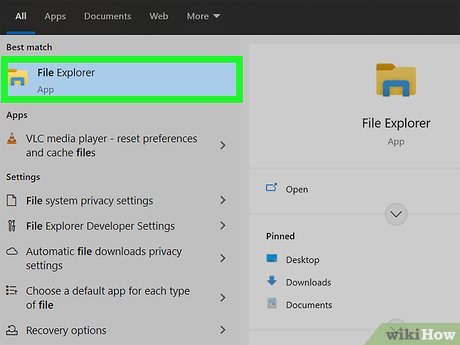
. This file app icon is in your taskbar or Start menu.
{“smallUrl”:”https://www.wikihow.com/images/0/04/File_Explorer_Icon.png”,”bigUrl”:”/images/thumb/0/04/File_Explorer_Icon.png/30px-File_Explorer_Icon.png”,”smallWidth”:460,”smallHeight”:460,”bigWidth”:30,”bigHeight”:30,”licensing”:”<div class=”mw-parser-output”><p>Original file from Wikipedia: <a target=”_blank” rel=”nofollow noreferrer noopener” class=”external free” href=”https://en.wikipedia.org/wiki/File:File_Explorer_Icon.png”>https://en.wikipedia.org/wiki/File:File_Explorer_Icon.png</a> The file itself is licensed under the Creative Commons Attribution Share-Alike license, but the icon itself is under copyright by Microsoft. This icon is used on wikiHow as fair use because it is being used to provide how-to instructions.n</p><p>License: <a target=”_blank” rel=”nofollow noreferrer noopener” class=”external text” href=”https://en.wikipedia.org/wiki/Fair_use”>Fair Use</a> (screenshot)<br>n</p></div>”}
. This file app icon is in your taskbar or Start menu.
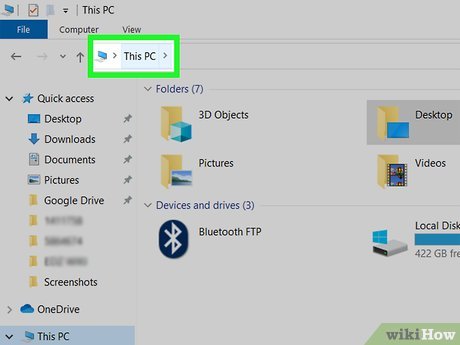
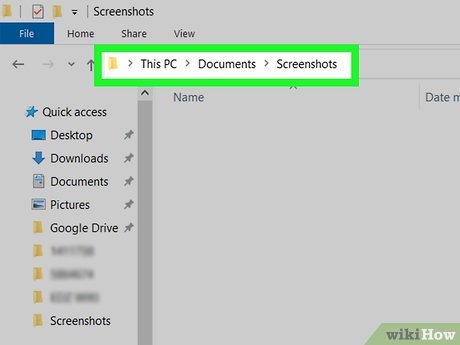
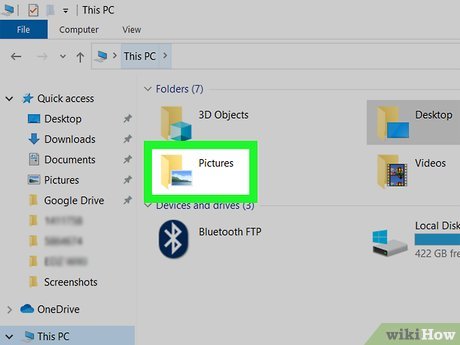
Navigate to a location where you want to save your screenshots to. Since the default location is “This PC > Pictures > Screenshots,” you can try moving them to “This PC > Documents > Screenshots.”
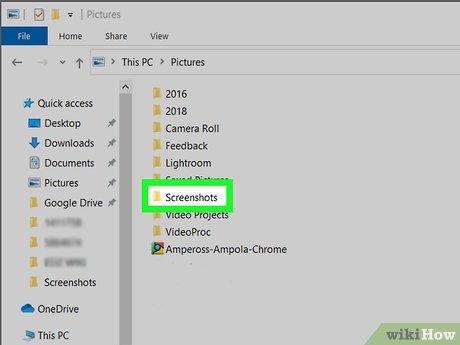
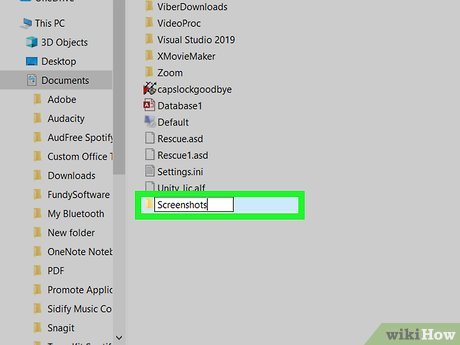
Create a new folder named “Screenshots.“ Click inside the folder, click New folder at the top of the File Explorer window, then name the new folder “Screenshots.”
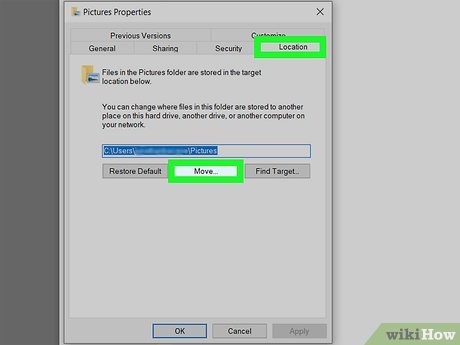
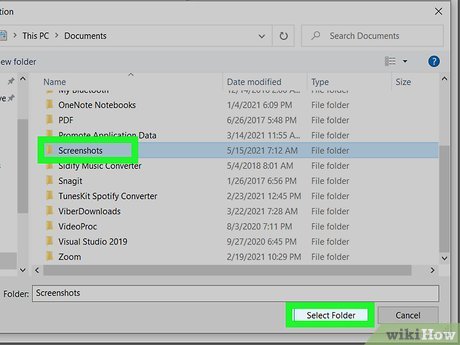
Navigate to and click to select the “Screenshots” folder you made earlier, then click Select Folder. The little File Explorer window will close and the new path will display in the Location tab.
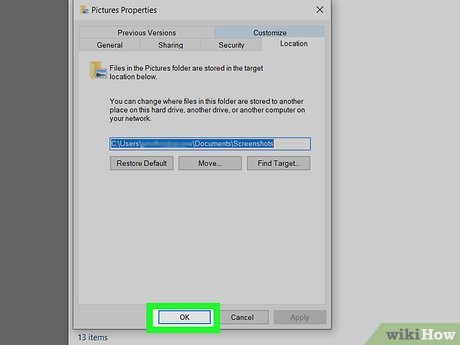
Click Apply and OK. Your changes will be saved and any future screenshots you take by pressing Win + PrtScn will be saved in this folder.[1] X Research source
Tips
Submit a Tip
All tip submissions are carefully reviewed before being published


